OBJECTIVE: Create original collage elements out of dried acrylic films.
GOLDEN PRODUCTS:
-GOLDEN Heavy Body or Fluid Acrylic Paints of your choice
-GOLDEN Gel or Medium*
TOOLS / MATERIALS:
-Spreading tool (palette knife, trowel, plastic joint compound spreader)
-Brush
-Plastic sheeting (recommend Polyethylene plastic, at least 4 mil thick)
STEP-BY-STEP:
STEP 1: Prepare a work area with flat piece of Polyethylene plastic. The acrylic paint film should release from this material when dry. Not all plastics work, so if unsure of the material at hand, test first. We will use a page protector with a chipboard insert for this demonstration.
STEP 2: Next, choose your color combinations. For this demonstration we are using GOLDEN Heavy Body acrylics in Naphthol Red Light, Manganese Blue Hue, Bismuth Vanadate Yellow and Naples Yellow Hue.
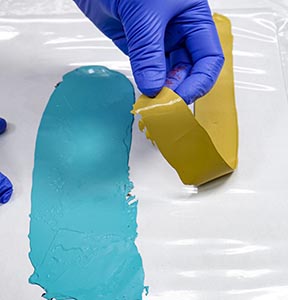
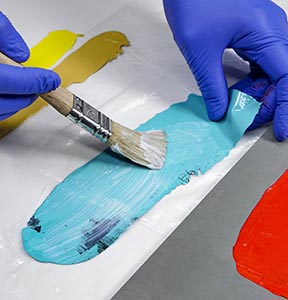
Create the skins by spreading paint onto the plastic with a spreader tool or palette knife. Allow to dry. Thin skins will be delicate and thick skins will take longer to dry.
STEP 3: When completely dry, carefully peel up the skin. Try not to let it fold on itself as it can easily stick together. Drying time will vary depending on weather and other environmental factors. If the skin does not peel easily, it may not be completely dry or may be too thin.
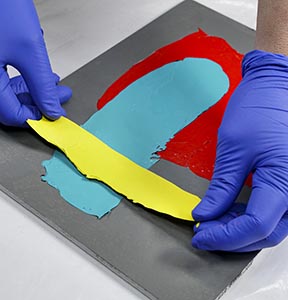
STEP 4: Compose your design. Skins can be torn or cut into shapes. Keep skins flat and stored between plastic until ready to use. Be careful not to allow skins to touch as they may permanently stick to one another.
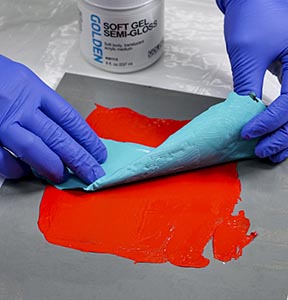
STEP 5: Finally, use the acrylic gel or medium of your choice to adhere the skins to your design. When adding multiple layers, start with the base layer first. Apply medium to the back of the skin and to the area where the skin will be adhered. Press the skin down, creating a bond. Flatten or shape as desired. A piece of plastic can be used to protect the surface when using a tool to flatten. Wipe away excess medium with a damp rag or sponge. Allow to dry.
*Choose gel or medium as appropriate for your piece. For very flat works, a thinner medium may be a better choice. For dimensional works, the thicker consistency of gels can fill gaps and ridges created when layering multiple skins. Consider the sheen. Some of the gel or medium used to adhere the skins may be visible. Choosing a sheen similar to that of the surface or substrate can minimize the effect.