MIXED MEDIA: COLLAGING WITH DIMENSIONAL TEXTILES
GAC 400 will permeate fabric*, stiffening it as it dries. Since acrylic bonds to acrylic, once dry, the saturated fabric should provide an excellent bond with other acrylics. Expect some gloss on the surface and a slight darkening of the fabric. Care should be taken not to roll, stretch or bend any fabric or paper stiffened with GAC 400 as micro cracks may form that could eventually decrease the stiffness of the material). Depending on your specific application, you may opt to heat-set GAC 400 to decrease water sensitivity, and increase the stiffening properties to some degree.
For more information: https://justpaint.org/gac-400-fabric-and-paper-stiffener/
OBJECTIVE: Create 3D collage elements
GOLDEN PRODUCTS:
-GOLDEN GAC 400
-GOLDEN Regular Gel Semi-Gloss
TOOLS / MATERIALS:
-Painting surface or substrate
-Synthetic brush and/or palette knife
-Gloves
-Shallow container
-Plastic sheeting, (recommend Polyethylene plastic,
at least 4 mil thick)
-*Natural fabric
STEP-BY-STEP:
STEP 1: Start by preparing a work area with plastic sheeting. If casting from an object as a mold, wrap the object in plastic wrap. When dry, the GAC 400 should release from the plastic. Not all plastics work, so if unsure of the material at hand, test first. We used a page protector with a chipboard insert for this demonstration.
If you would like to build a larger scale free-standing structure, it will need the help of an internal or external rigid structure or armature.
Any folds or wrinkles in the plastic or fabric will affect the outcome.
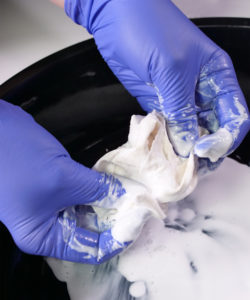
STEP 2: With gloves on, pour the GAC 400 into the shallow container and incorporate it into the fabric until it becomes fully saturated.
STEP 3: Wipe off the excess GAC 400 and remove the cloth.
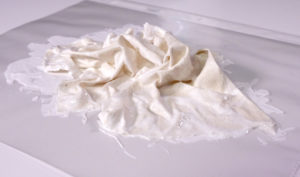
STEP 4: Drape or position for drying. If draping and forming over a mold, be mindful of the fact that when dry, the fabric will be stiff and potentially very difficult to separate from the mold if wrapped too tightly or with undercuts. Allow to dry completely. When applicable remove the mold.
STEP 5: Heat set if desired. See link above for instructions.
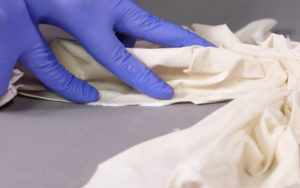
STEP 6: Compose and determine placement on the surface or substrate.
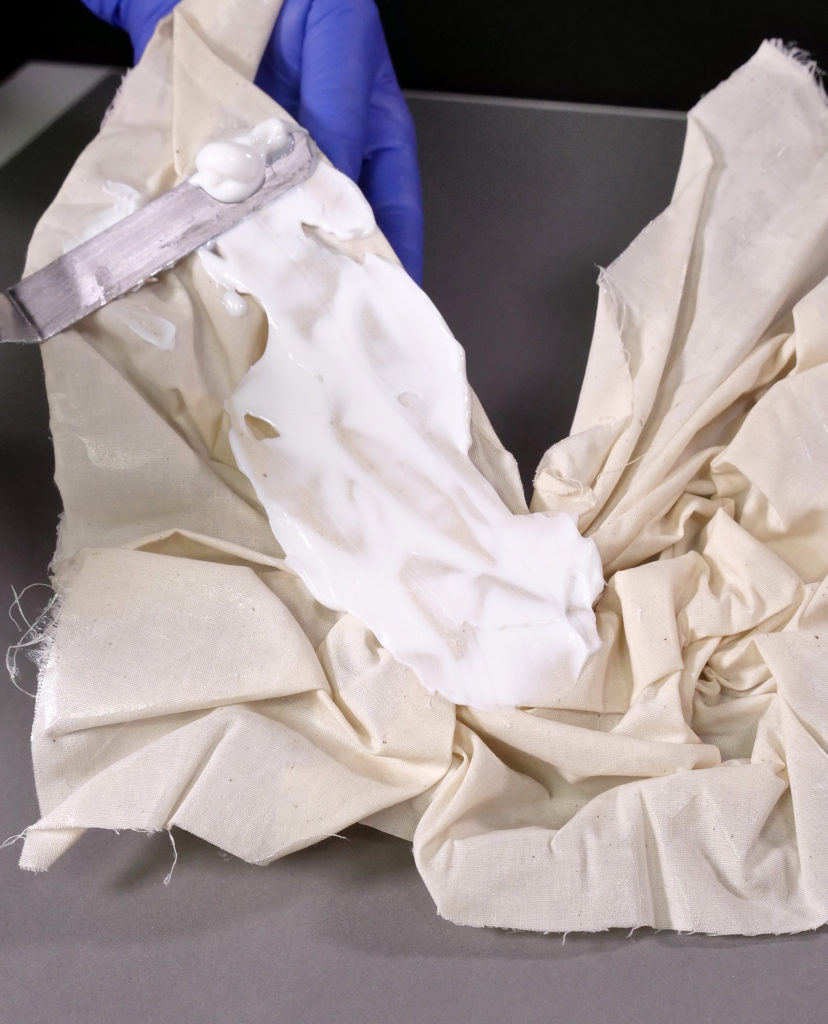
STEP 7: In this case, the choice of medium or gel used for adhesion becomes a creative decision since most will provide an adequate bond. In this demonstration we chose Regular Gel Semi-Gloss for its consistency and sheen. It can be used to adhere flat and dimensional pieces and its thicker consistency also lends itself well to filling textures and gaps.
STEP 8: Apply the GOLDEN Regular Gel Semi-Gloss with a brush or palette knife to the back of the cloth and to the area where the cloth will be adhered. Position the cloth then press into place. Excess gel can be removed with a damp rag or sponge. If the sheen of the gel is similar to that of adjacent materials, it will be less noticeable. Allow to dry.


About Todd Leinbach
View all posts by Todd Leinbach -->Subscribe
Subscribe to the newsletter today!
No related Post
