
ROTOSCOPING WITH OPEN ACRYLICS
OPEN acrylics and gel printing plates are perfect companions for painterly printmaking. The slow drying time of OPEN and the gel plate’s excellent transfer ability offer tremendous creative potential.
A stop motion animation is created by playing back a series of still frames, usually physically manipulated, in a fast sequence appearing to demonstrate independent motion. Rotoscoping is a technique used in film and animation where effects are created by physically tracing over each frame of live action footage. This demonstration will combine these two techniques in the creation of an animation using OPEN on a gel plate, a desktop printer, and a cell phone.
OBJECTIVE: Use a smart phone or tablet, desktop printer, and gel printing plate to create an original stop motion animation
TOOLS / MATERIALS:
■ OPEN acrylic paints
■ Hot press or Bristol paper appropriate for block printmaking
■ Gel printing plate
■ Brushes
■ Paper towels, soft lint free rag, or wipes
■ Masking tape
■ Smart phone or digital camera
■ Printer with paper
■ Chipboard, foam core, or mat board.
■ Permanent marker
CAPTURE AND PRINT PHOTOS
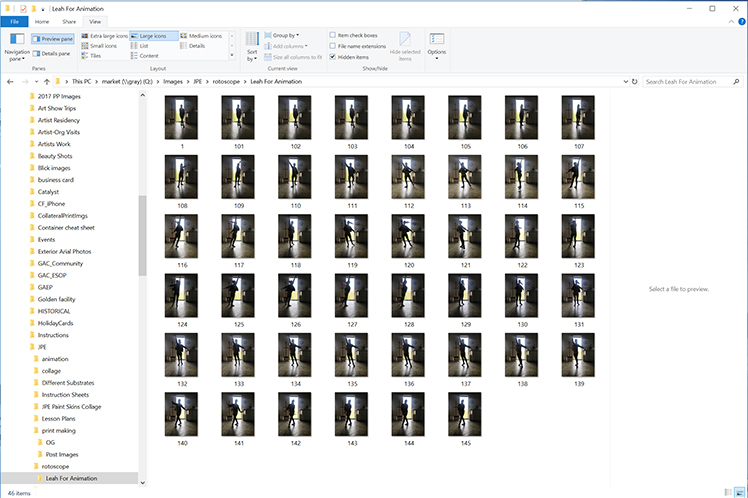
Most smart phone cameras can be used to capture sequential images from live action using a continuous or burst mode. The images can serve as a guide in creating a hand painted animation, providing consistency in scale, alignment, and timing.
To do so, an action must be captured in a series quick stills (or bursts).
Step 1: Choose the camera feature setting for still photography (although we will be capturing live footage, we will not record it as a video).
Step 2: Begin photographing an action or movement by holding down the shutter button. The camera should begin taking rapid, sequential photos which will serve as the reference for your animation.
Step 3: Scroll through the photos and determine which ones to use as references for your animation. Print them, then number them on the back so you can identify the proper sequential order of the images. If editing, make sure the images remain consistent in size and formatting. Any cropping or alterations can influence the outcomes of your animation.
SETTING UP: REGISTRATION
In order to keep your images aligned, set up a simple registration for the paper, reference images, and gel plate.
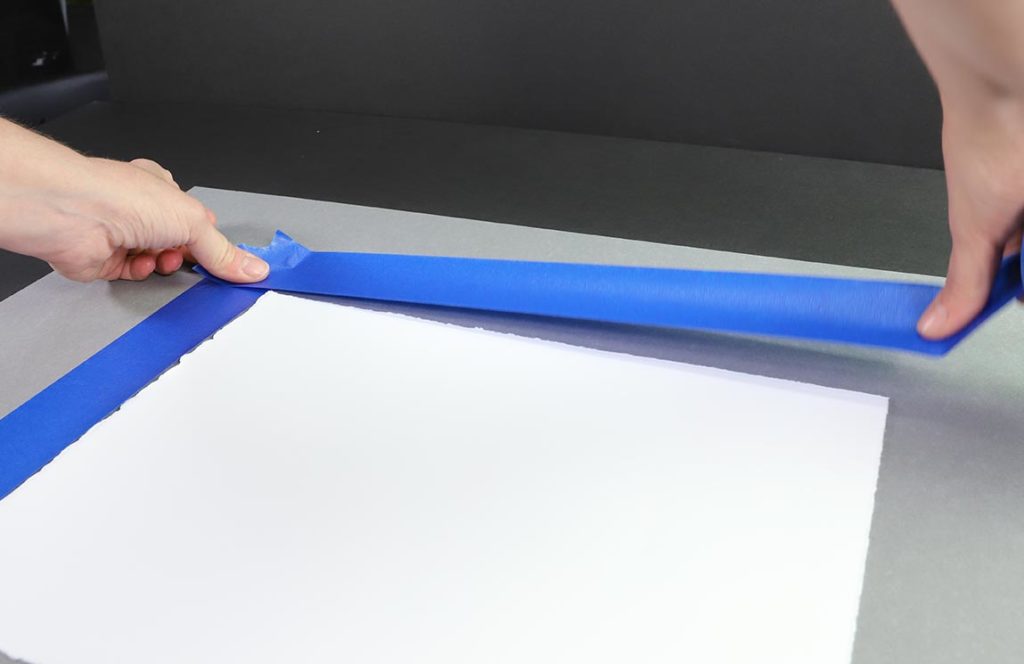
Step 1: Determine the size of the printing paper. Prepare enough paper to complete your animation. Consistency of size is important for proper alignment. With a light pencil mark, number each on the back. Place 1 sheet of paper on the chipboard.
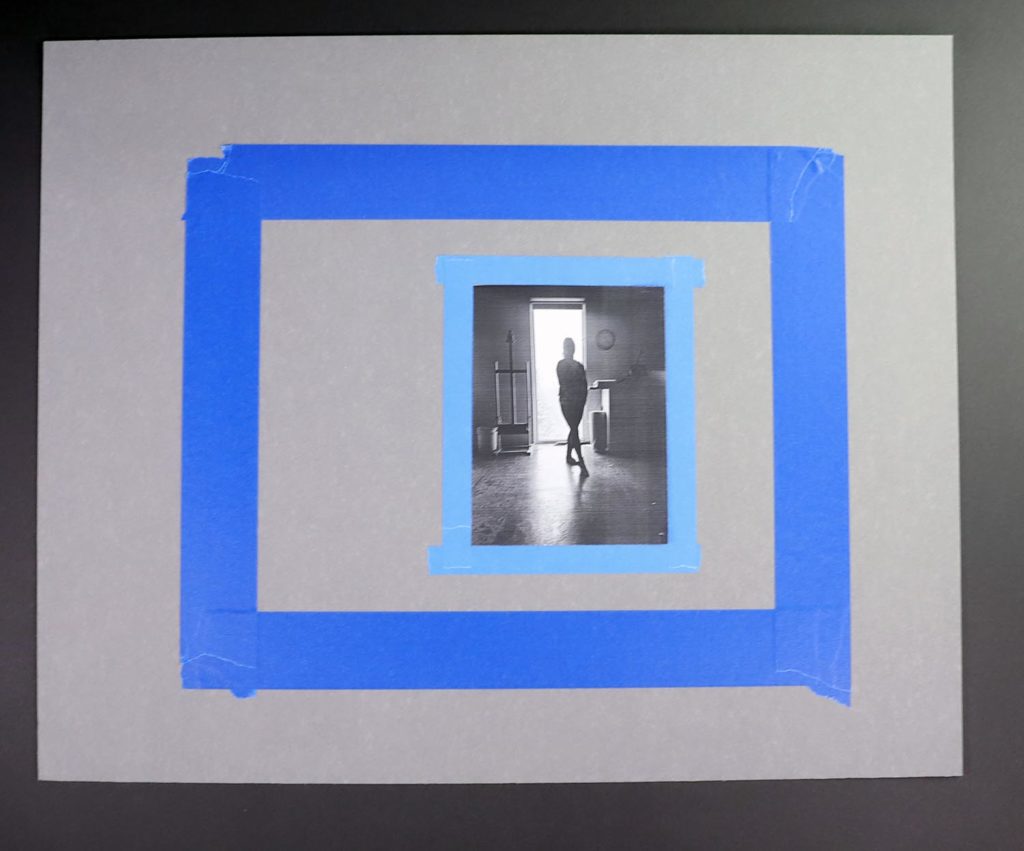
Step 2: Align the masking tape with the edges of the paper and create an outline. Repeat if a thicker edge is desired. Remove the printmaking paper.
Step 3: Align the reference image within the registration for the printmaking paper. Determine its placement on the page. Once aligned, repeat Step 2. Remove the reference image.
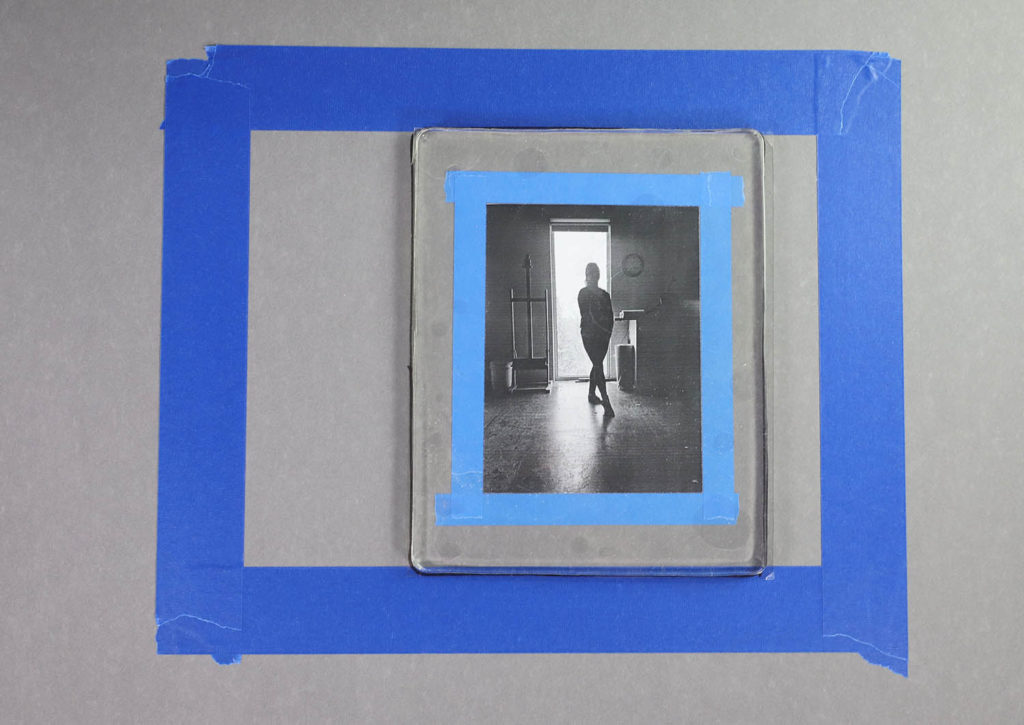
Step 4: Peel the protective film off of the gel plate. Lay the gel plate over the paper and reference image registrations. When the plate is in position, trace it with the permanent marker and return the protective film to one side of the plate.
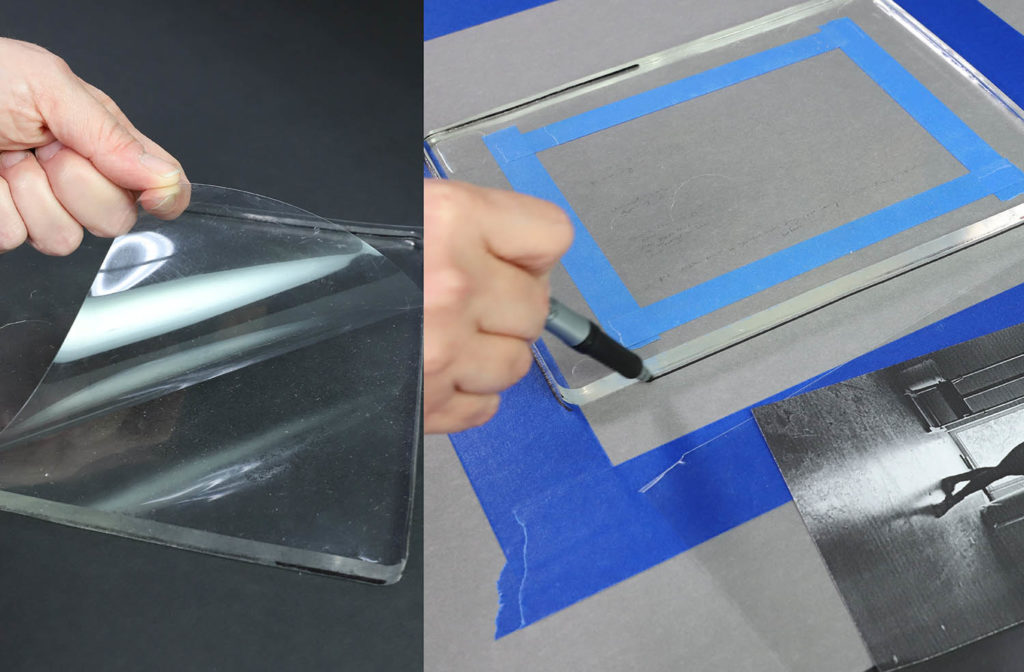
Step 1: Place the reference image in its registration.
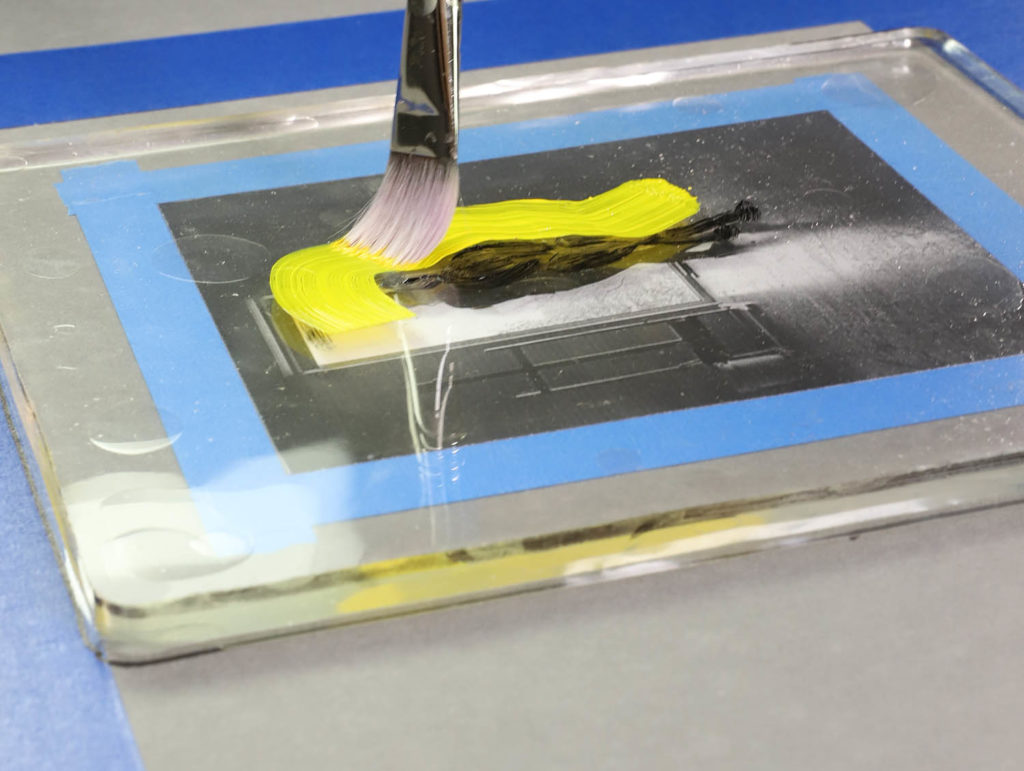
Step 2: Set the gel plate in place with the protective film down and sticky side up.
Step 3: Apply paint using the reference image as a guide. Keep in mind paint should be fairly thin since peaks and ridges can be flattened, creating possible undesired blotches in the print depending on the pressure exerted during the transfer.
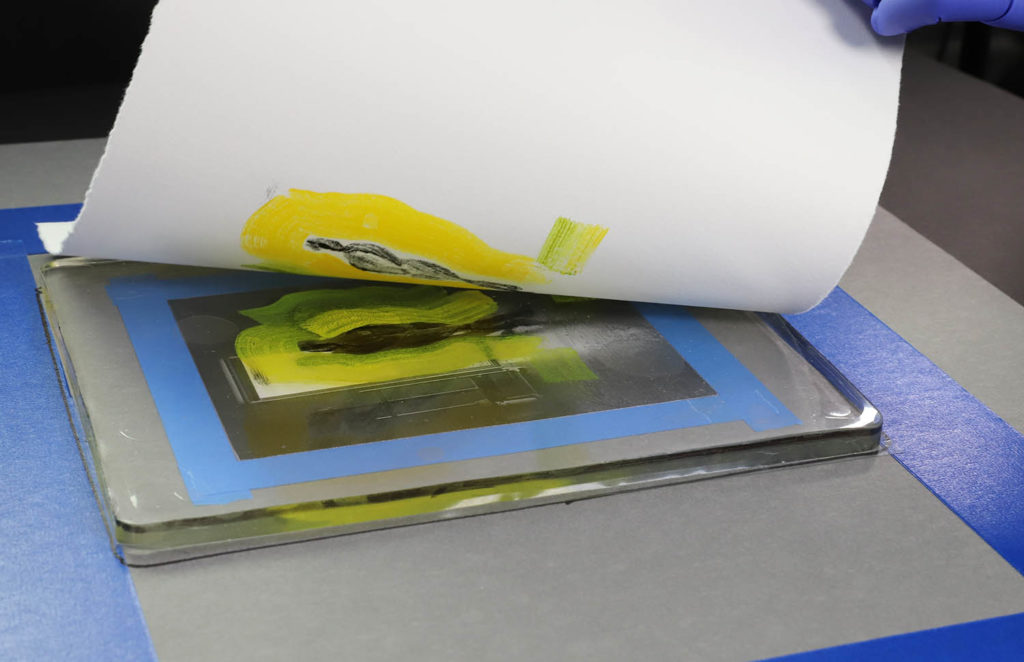
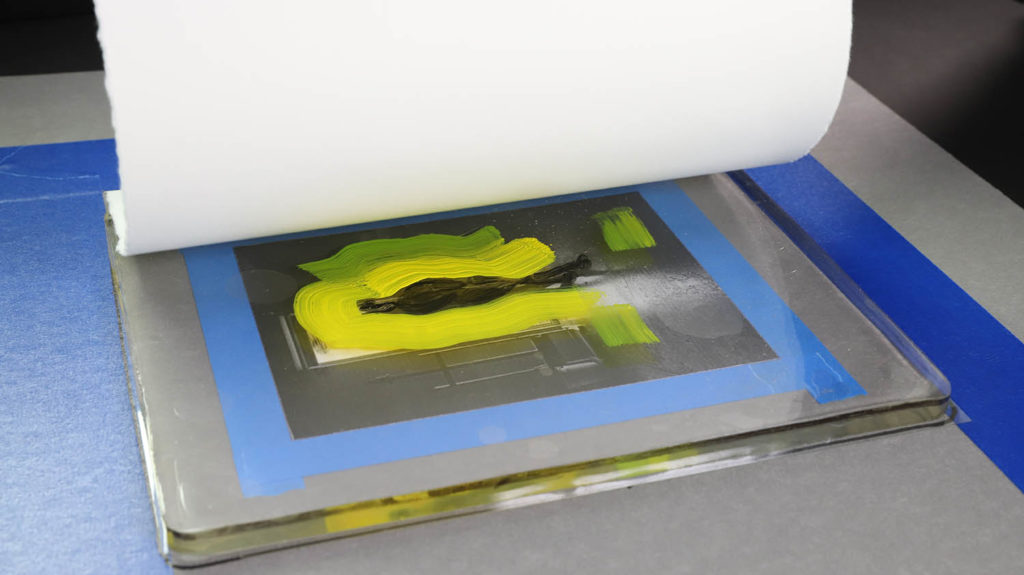
Step 4: Lay the printmaking paper over the plate while aligning it with the registration markings. Be careful not to move the paper once it is in place.
Step 5: Apply gentle and even pressure across the back of the paper as it lays on the gel plate. This should cause the paint to transfer.
Step 6: Remove the print and set aside to dry.

Step 7: Clean the plate. This can be done while the plate remains in place by simply wiping it with a damp cloth.
Step 8: Repeat this process until prints have been made of all images.
Animate
Two methods of animating the imagery are outlined below.
Analog:
Bind the sequential images as flip book.
Digital:
Photograph prints and animate
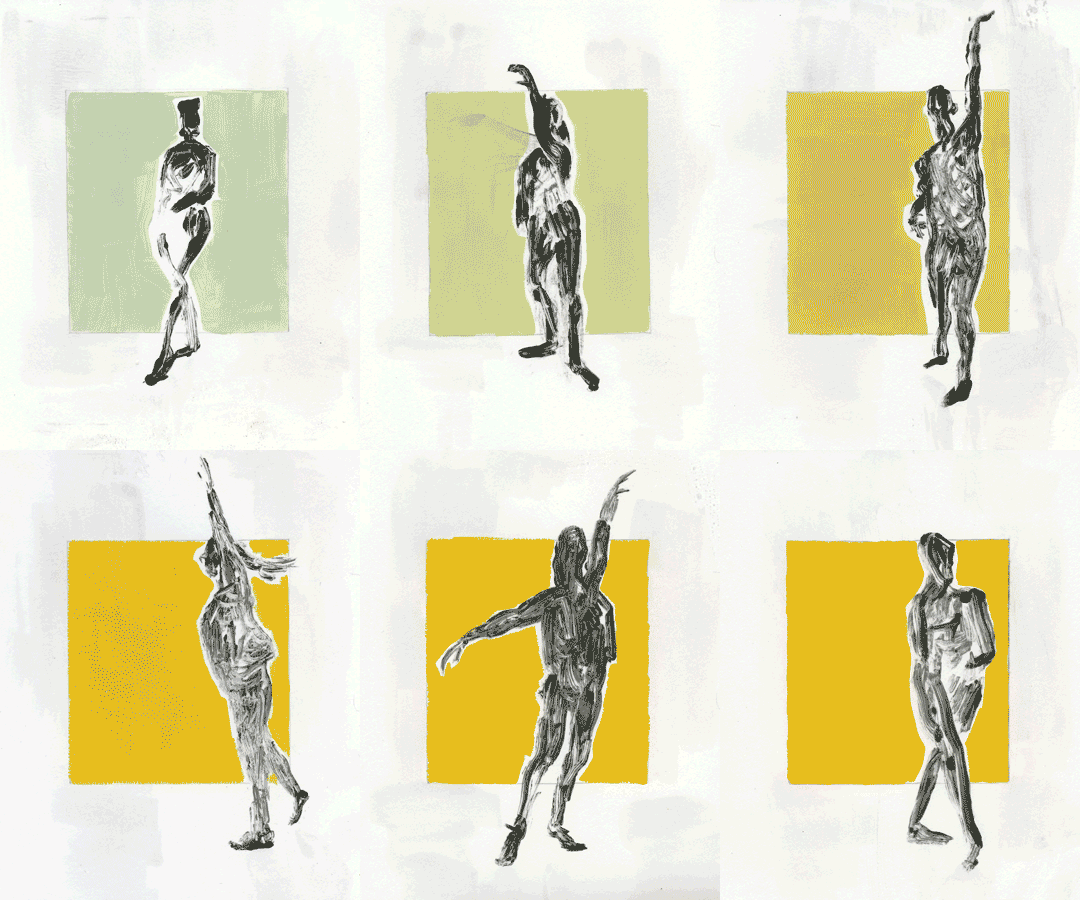 Choose a stop motion app on a smart phone or tablet (many provide “free” versions).
For best results, select apps with the option of a ghost or “onion skin”. A transparent image of the previous photograph in the sequence will appear in your camera. This option is very helpful in aligning the photographs of each frame of the animation, resulting in smoother transitions. Other options include photographing the prints with a camera mounted on a stationary stand or scanning the images.
Apps will also allow you to create the animation, adjust the timing of each frame, add sound, titles, and in some cases special effects. We recommend testing these functions before creating your animation. When complete, save and share files (with us!).
All of this work can also be done on a computer with various programs (some of which come loaded on most computers). We suggest researching and testing based on the programs available to you.
About Stacy Rosende
View all posts by Stacy Rosende -->Subscribe
Subscribe to the newsletter today!
No related Post

