Editor’s Note:
Added April 26, 2022
For some time, our recommendation for artists using oils over acrylic has been to work over harder, matte acrylic surfaces and avoid working on softer gels and gloss products. Our intention was to optimize the level of adhesion that would be achieved on a toothier surface as well as avoid the potential for future cracking as the oil paints become more brittle. While we have not seen adhesion problems of oils on any type of acrylic, recent testing has shown the potential for cracking in certain instances and conditions when applying artist oils over all of the many brands of glossy acrylics we have tested. While we have not received notice from artists of this phenomenon, we are able to repeat this specific type of cracking in our Lab.
Please visit https://justpaint.org/revising-our-recommendations-for-using-oils-over-acrylics/ for an overview of our testing, results and updated recommendations for applying oil colors over acrylics.
Oil paint can be one of the most natural and safe materials used in the making of paintings but have, through misconception, been labeled as dangerous. Oil paint is made by grinding dry powdered pigment with linseed oil. Sometimes stabilizers, additives or driers will be used in small amounts so the paint dries in a reasonable amount of time, doesn’t separate in the tube and handles in a creamy, brushable manner. The idea that oil paint is more toxic than water-based paints has nothing to do with the oil itself but with solvents that have been utilized as thinners, extenders and cleaners. Nearly all of the pigments used in acrylic and watercolor paints are the same as those in oil paints.
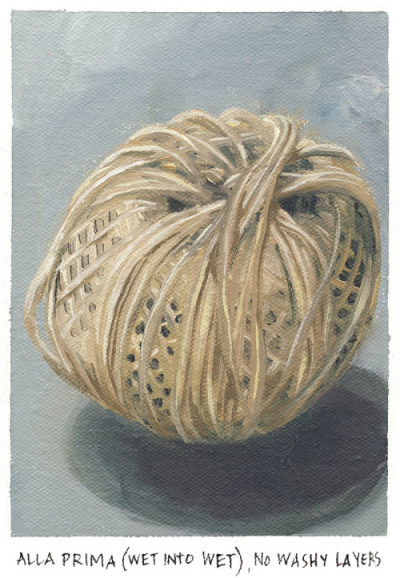
Solvents are used in oil painting for various reasons. In the first layers they are frequently meant to make the paint washier; often a necessary step in the painting process for some artists. With thinner and more fluid paint, one is able to sketch or conjure the gesture that breathes life into a blank canvas and informs the subsequent layers. These layers tend to be very thin, very transparent and absorb into the substrate relatively easily. Because solvent is used to thin the paint, a thinner layer is deposited on the surface, which in turn dries more quickly allowing for a more substantial and meatier layer of paint to usually be applied the next day. Often one wash layer is not enough and layering of washes creates a flat matte surface without the depth of space and high oil content of a traditional glaze. Besides this initial lay-in, solvents are also used to just slightly soften paint, making it more spreadable without increasing the dry time by adding more oil. Solvents are also used in a vast number of mediums, varnishes and resins. Cleaning up brushes and other surfaces using solvents is a very common practice in the studio.
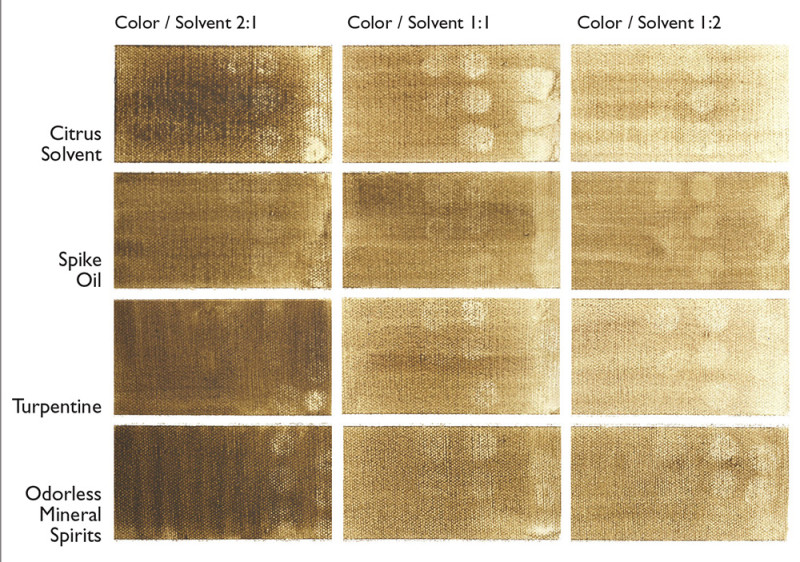
The stability of a paint film thinned only with solvents has been an area of constant concern to many artists. To look into this, we conducted some tests to see if a paint film would be rendered under bound by solvent use and if so, by how much solvent, and did the type of solvent matter (Image I)? The test involved turpentine, odorless mineral spirits, spike oil and citrus solvent. Paint was mixed with each one of these solvents in three ratios of each: 2:1, 1:1 and 1:2. After a full day, a cotton swab was wiped in a circular pattern five times over all 12 samples and then again every day for a week. As one might expect, the samples that contained more solvent than paint experienced more paint lift than the ones with an equal or greater ratio of paint to solvent. The samples that were 2 parts solvent to 1 part paint continued to show the same amount of color lift while the mixtures represented by the other samples showed less. Some also fared better than others and although this test was very small, both the spike oil and turpentine appeared to leave the paint with less overall color removal.
 Many artists are required or choose not to use solvents, due to more stringent school regulations, allergic reactions or as a proactive decision. Others simply convert from oils to acrylics or watercolors, taking on the usual learning curves of any new medium, such as the differences in dry time, color shift, concentration of pigment and rheology. While many of these artists prosper in their newfound water-based media, a good number still long for oils and search for alternate ways to use them.
Possible methods for going solvent free in the studio include, but are not limited to, the use of a lighter oil, the use of either acrylics, egg tempera, or watercolor for initial underpaintings, creating an egg and oil emulsion in order to incorporate water in the under layers or abstaining from solvent use and painting in only a thicker manner. Eliminating solvents for cleanup is not only possible but allows brushes to be washed in soap and water.
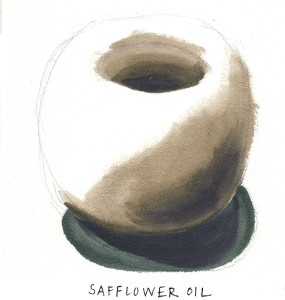
Painting with lighter bodied oil can allow a thinner, more gestural painting to be on the canvas in the preliminary stages of a painting. It however does not provide a faster method of drying nor does it offer a matte surface. The oils that typically are thinner and blonder in nature are poppy, safflower and walnut. There are some reservations in this method as the thinner oils are less flexible and more brittle than linseed oil, increasing the chance of cracking in the long-term. Having an oil-rich layer in the beginning can also cause concerns as a painting is generally built from leaner layers, with little to no added oil, through layers that have an increasing amount of medium added. Lastly, the slow-drying nature of these oils can make applying any faster drying layers on top much more risky as this is a common cause of cracking as well.
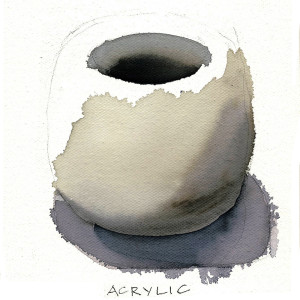
The use of acrylic under oils is a very widely practiced and compositionally stable method for under painting. Within this method there are parameters that will aid in adhesion and stability. Matte acrylics are always preferred over glossy acrylics as there is a greater mechanical adhesion to toothier surfaces. There are three lines of GOLDEN Acrylics that are formulated to be matte – Matte Fluids, Heavy Body Matte and High Load Acrylics. These all have slight varying degrees of a matte sheen similar to that of gouache. These paints will offer opacity and richness that is not always desired in a gestural washy layer and can be thinned up to 1:1 with water or in any ratio with Matte Medium or Fluid Matte Medium to maintain transparency and fluidity. A good guide supporting this system can be found in “Using Oils with Acrylics” (Just Paint #24, 2011).
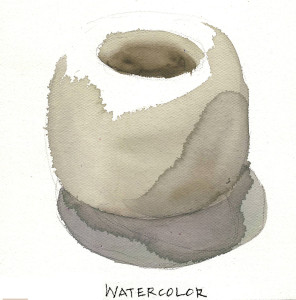
While the application of oils over a water-based medium can seem like a newer development, especially if using acrylics, it actually has deep historical roots. As early as the 14th century, for example, the practice of using oils over egg tempera is mentioned by Cennino Cennini and was a common practice, along with the use of a blended egg-oil emulsion referred to as tempera grassa, until oils became the dominant medium in the late 15th century. Watercolor is another traditional method for under painting. Leslie Carlyle, in The Artist’s Assistant (2001), which looks at 19th century artist manuals and practices, cites references for this technique starting as early as 1803 and repeated through the rest of the century. Also, since watercolors are not resoluble when oils are used over them, there is no threat of colors smearing or bleeding when subsequent layers are painted. Widely available and easily thinned with water, QoR® Watercolors as well as more traditional ones based on gum arabic, can be an effective way to create the broad washes and fluid lines that oil painters typically rely on solvents for. Just keep in mind that absorbent grounds, including both traditional and acrylic gesso, are more receptive to watercolors than oil or alkyd grounds, and one should always test for compatibility prior to use.
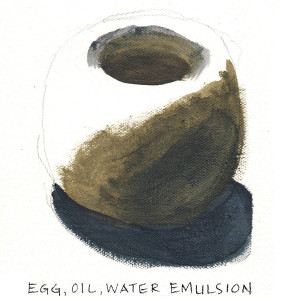
Historical recipes for water miscible oils are a way to stay within one binder system and still be able to get a thinner, faster drying paint without the use of solvents. Many of the older recipes involved ingredients that are unattainable or toxic in their own right. The one recipe that still seems applicable is an egg oil emulsion that allows for thinning with water. That method is to get an egg, separate the white from the yolk and pass the yolk back and forth between your hands in order to dry the surface. Using your fore finger and thumb pinch one end of the yolk over a bowl. Using your other hand poke a hole in the yolk so that the contents spill into the bowl and the skin is discarded. The egg yolk can then be mixed 1:1 with linseed oil by hand or with a studio blender. This should be mixed until there is no separation and a thick emulsion is formed. This mixture can then be mixed with oil paint directly from the tube. Once the paint and egg oil mixture is mixed, then add water one drop at a time. Once enough water is added you will know because there is a saturation point at which separation begins to occur and no more water can be mixed in without the addition of more of the egg/oil mixture. This method depends on continuous balance.
Lastly, Williamsburg’s Wax Medium, which we highlighted in Just Paint #31, contains absolutely no solvents while still being able to give paint a very fluid and silky feel. At the same time, other companies offer solvent-free products as well, such as M. Graham’s Walnut Alkyd Medium, or Gamblin’s Solvent-Free Gel and Solvent-Free Fluid. Given the desire to find less toxic alternatives to turpentine and mineral spirits, we expect this to be a category that will continue expanding in the years ahead.
While solvent free painting is often the focus of concern, cleanup still represents the area where solvents are used more than anywhere else in the studio. And sadly, almost always in ways that are completely unnecessary. Use plenty of brushes so you have enough for different mixtures, reserving ones for delicate colors like whites and yellows. This can help avoid the constant swishing in solvents you often see between various blends, or the common sight of brushes soaking in a cup of solvent through the course of the day. Keep containers of mediums covered except when truly needed. And at the end of the day, clean your brushes by first wiping all of the paint on a towel until little or no color remains. Then, using a non-drying light cooking oil such as canola or safflower from the grocery store, dip the brushes into the oil and continue to work the remaining color out onto the towel until the majority of paint has been removed. At that point you can simply wash the brush with soap and water. On occasion, brushes that feel dry can be treated with a hair conditioner.
For additional discussion see our article, “Cleaning Brushes Without Solvents”.
Illustrations by Amy McKinnon
About Golden Artist Colors, Inc.
View all posts by Golden Artist Colors, Inc. -->Subscribe
Subscribe to the newsletter today!
No related Post

