Recently we set about testing a variety of solutions for what has been a constant problem: preventing a can of paint from forming a skin, especially when stored for months or even years at a time. Plastic wrap pressed against the surface definitely worked, but also created a mess when being removed, while anti-skinning sprays could impact the drytime of the paint itself, especially if the amount was not tightly controlled and a painter happened to use just the topmost layer. Plastic rings that locked the lid in place, and even displacing oxygen by spraying argon gas into the headspace before sealing the can, all showed promise and potential. But in the end the most effective method turned out to be the easiest of all: simply turn the can upside down. By doing this, the wet paint would be pressed against the inside of the lid and create an airtight seal. All the trials using this method showed no evidence of skinning, even when stored at elevated temperatures for a prolonged period.
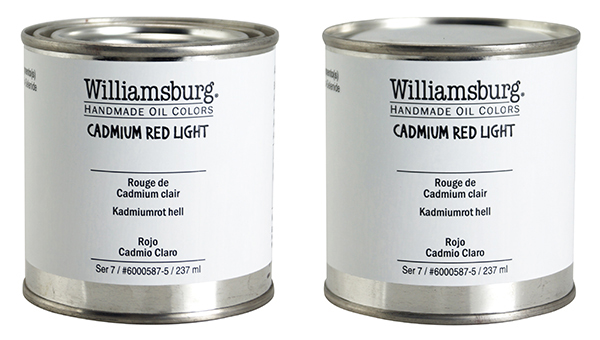
Based on those results we have decided to package and store our cans in a new, upside-down orientation; so, while the label will still appear right-side up on the shelf, the lid will now be on the bottom and you will need to turn the can over to get to the paint. This might take a little getting used to for some of our customers, but in the end it is a better way to get our paint to you in the best and freshest condition.

While it will take a while for these cans to start appearing on store shelves, we would encourage you to start to store them in this way for yourselves. Just keep in mind this method works best if the can still has a substantial amount of paint inside. When done for the day, make sure to tap the lid securely into place before turning the can over and giving it a good whap against a solid surface in order to pull the paint down against the lid. As the level of paint reaches halfway or less, this method becomes more impractical and less effective. At that point, it makes the most sense to smooth the surface of the paint, removing any gouges or air pockets, and pressing a piece of plastic wrap against the surface.
About Sarah Sands
View all posts by Sarah Sands -->Subscribe
Subscribe to the newsletter today!
No related Post
