Textured Monotype plate using Golden Acrylics
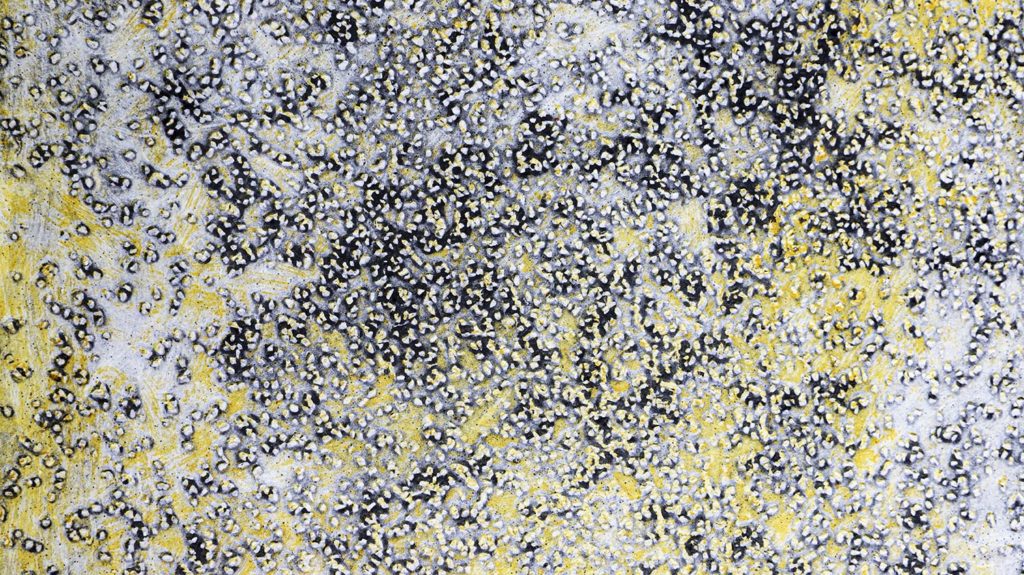
Printmaking is the process of creating an image, texture, or mark through the transfer of ink or paint from a matrix (object from which the print is transferred such as a plate or block) to a material like paper, wood, or canvas.
Collagraphy is a printmaking process in which materials are glued to a thin, rigid support or “plate”, and the texture of these materials is revealed as an expressive image or mark when the plate is printed. Acrylic gels, pastes, and mediums are effective materials for this process, providing a water-based, solvent and acid free option for artists.
The combination of our new Color Pouring Medium Matte with various gels and pastes produces a level surface that retains textural qualities, making it an excellent option for creating a collagraph plate for monotypes (unique prints made without a fixed image).
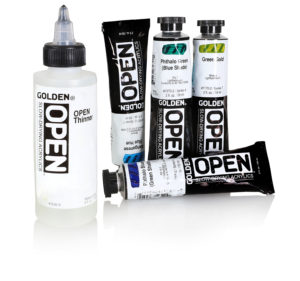
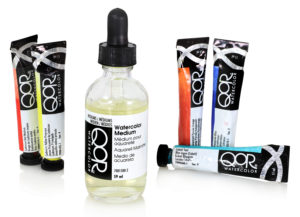
In this post, we will explain how to create an acrylic monotype plate with a fine, toothy texture for creating painterly prints using OPEN acrylics, QoR watercolors, and Williamsburg oils.
SELF-LEVELING ACRYLIC COLLAGRAPH PLATE FOR MONOTYPES
MATERIALS:
■ GOLDEN Color Pouring Medium Matte
■ GOLDEN Fine Pumice Gel
TOOLS:
■ Container for mixing
■ Plate: Clear acrylic sheet (Plexiglas®, Lucite®, Perspex® or similar)
■ Palette knife or tool for stirring
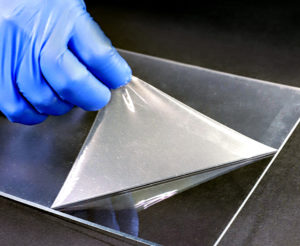
Step 1: Peel the protective film from one side of the clear acrylic sheet. Leave the film on the back for faster clean up later. Clean the plate (acrylic sheet) with water and dish detergent. Dry with a lint free cloth.
Step 2: Combine 1 part Color Pouring Medium Matte with 1 part Fine Pumice Gel in a container and mix together. The Color Pouring Medium provides a leveling and toothy base for the mixture, while the Fine Pumice Gel adds a fine grit.
Step 3: Let the mixture sit covered until most bubbles dissipate. Mix only what you need. Unused mixtures will separate and settle if stored. The mixture should be thick. A few drops of water can be added to loosen if necessary.
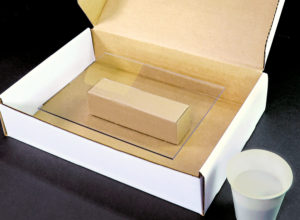
Step 4: Set up your work area for pouring. A clean, level work surface is required. Protect the surface with plastic sheeting for easy cleanup. Additional recommendations for work space setup can be found at : Pouring Tips Sheet
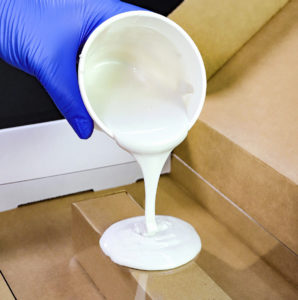
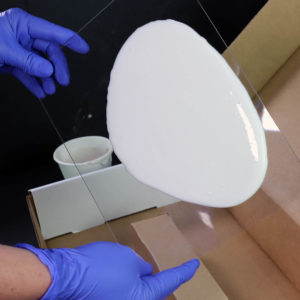
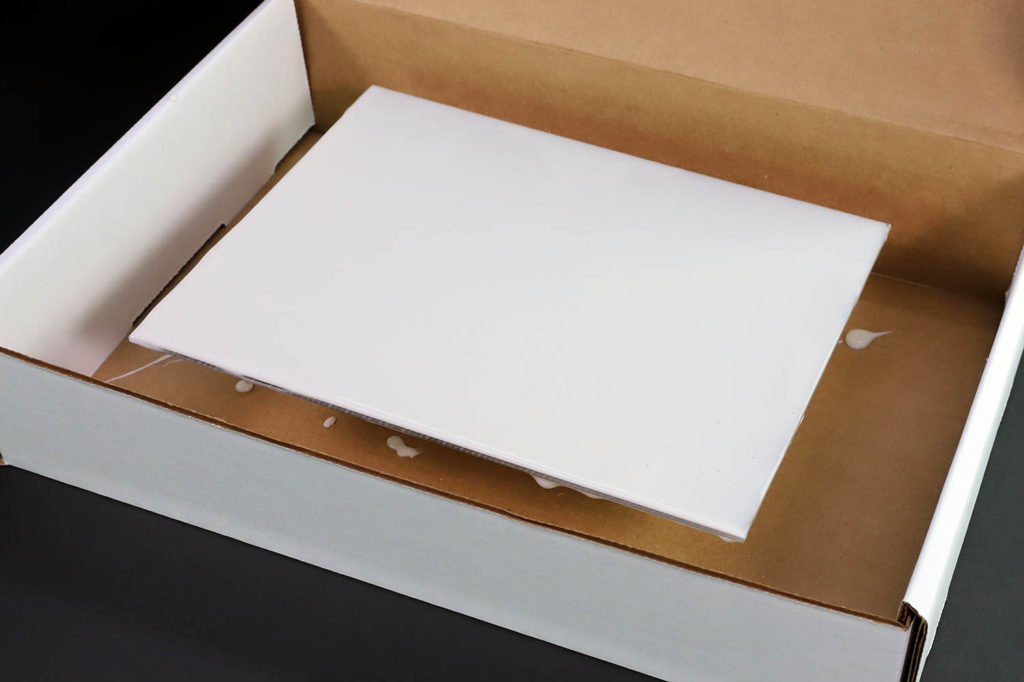
Step 5: Position the acrylic sheet so the side without protective film is facing up, then generously pour the mixture onto the center. Gently (and patiently) rock the panel, moving the mixture across the entire surface until it runs over the edges. Spread with a brush or palette knife if desired, but keep in mind that this could a result in less even distribution of textures.
Excess material can be collected and used to create another plate.
Step 6: Elevate the plate and allow to dry on a level surface.
Consider tenting the plate to slow the drying down and deter crazing. Allow the plate to cure for at least 3 days before printing.
Click here to download PDF of process
PRINTING FROM THE ACRYLIC COLLAGRAPH PLATE
A few things to consider when creating a monotype:
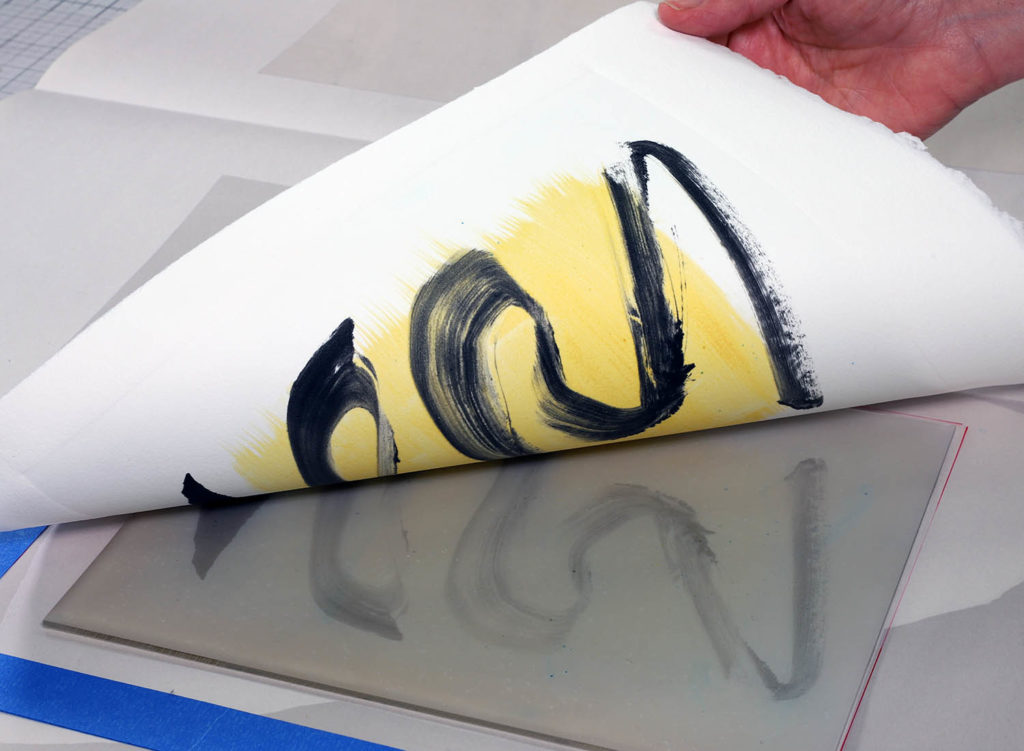
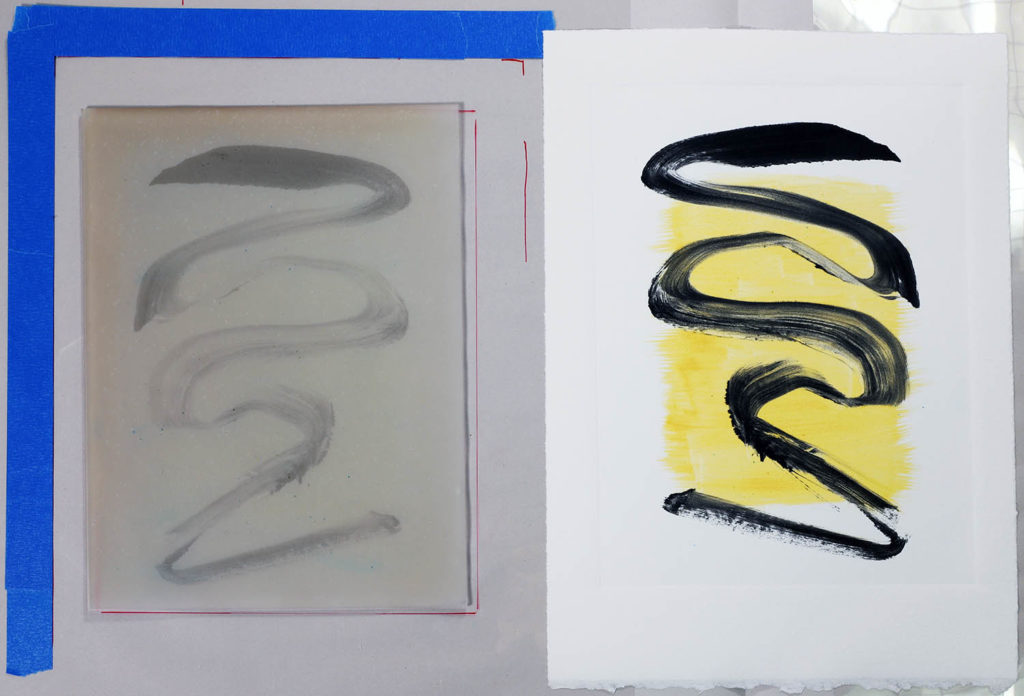
Apply paint thinly. Peaks and ridges could potentially create undesired blotches on the print due to the pressure exerted during the transfer. After the first print, some artists work on the uncleaned plate using the ghost (remaining image after a print) to create a consecutive series of related images.
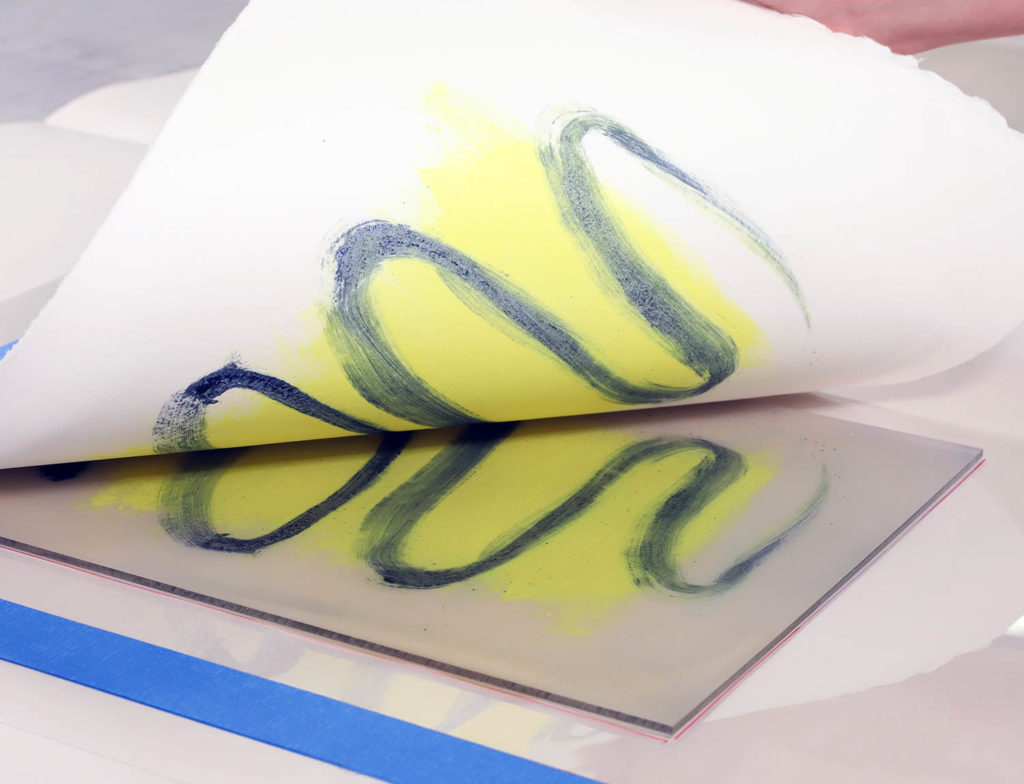
You can use a press, but do not need one. Any tool that will provide even compression or pressure will aide in obtaining a transfer, such as a brayer, baren, rolling pin, pin press, or etching press. The amount of pressure can affect the results, so we recommend testing first. How you apply the pressure can be another mark-making tool, influencing a range of potential outcomes.
When printing on a press, artists will often soak the printmaking paper in a bath of water before printing. The paper is taken out of the bath and blotted to remove excess water. This step makes the paper more flexible and receptive to traditional printmaking inks. When printing with paints, the choice to print on damp paper is a creative one. Examples and brief descriptions of our tests in the passages below can help you in this decision.
OPEN SLOW-DRYING ACRYLICS:
OPEN is an excellent choice for monotypes due to its slower drying time, water clean-up, and color range. OPEN Medium can be used to create transparent effects and OPEN thinner can reactivate tacky paint when cleaning. When printing with OPEN, do not allow the paint to dry completely on the plate. OPEN thinner is not a solvent and will not reactivate fully cured OPEN. When finished, clean the plate with OPEN Thinner, then wash with a mild soap and water. Do not submerge the plate. Dry thoroughly before reusing.
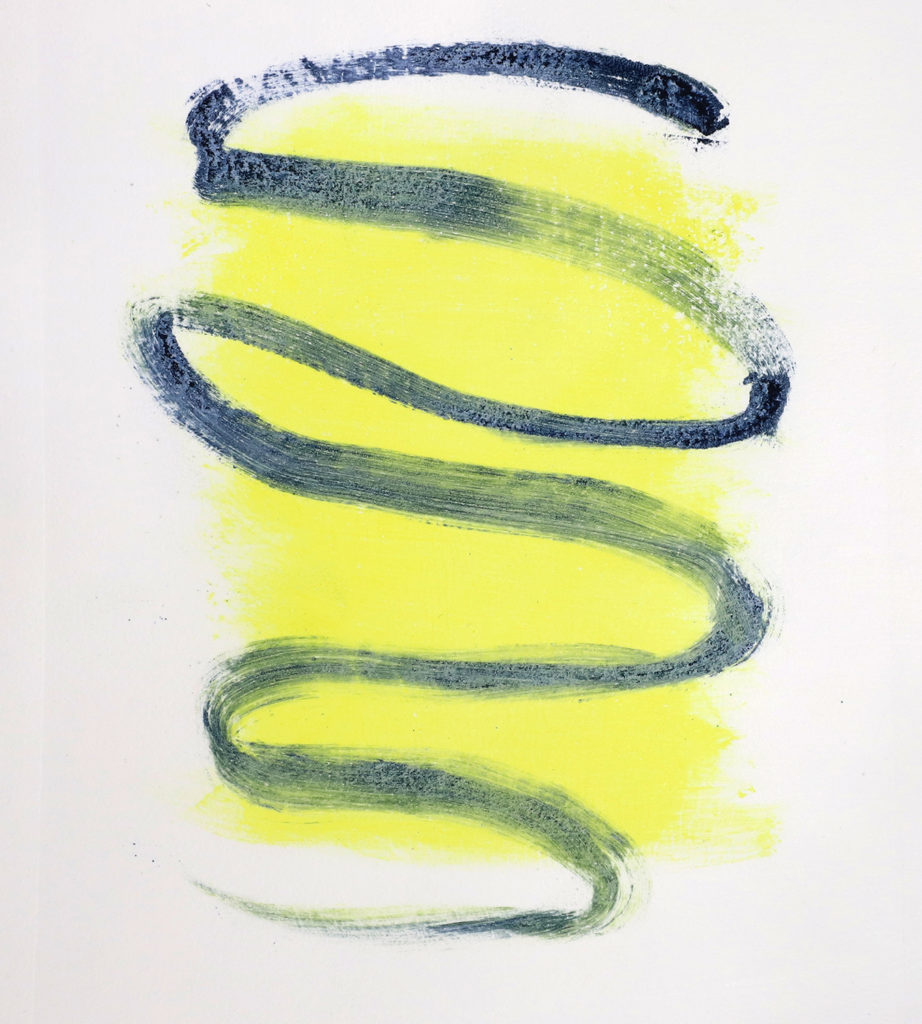
OPEN Acrylics printed on dry paper. Click above to play video.
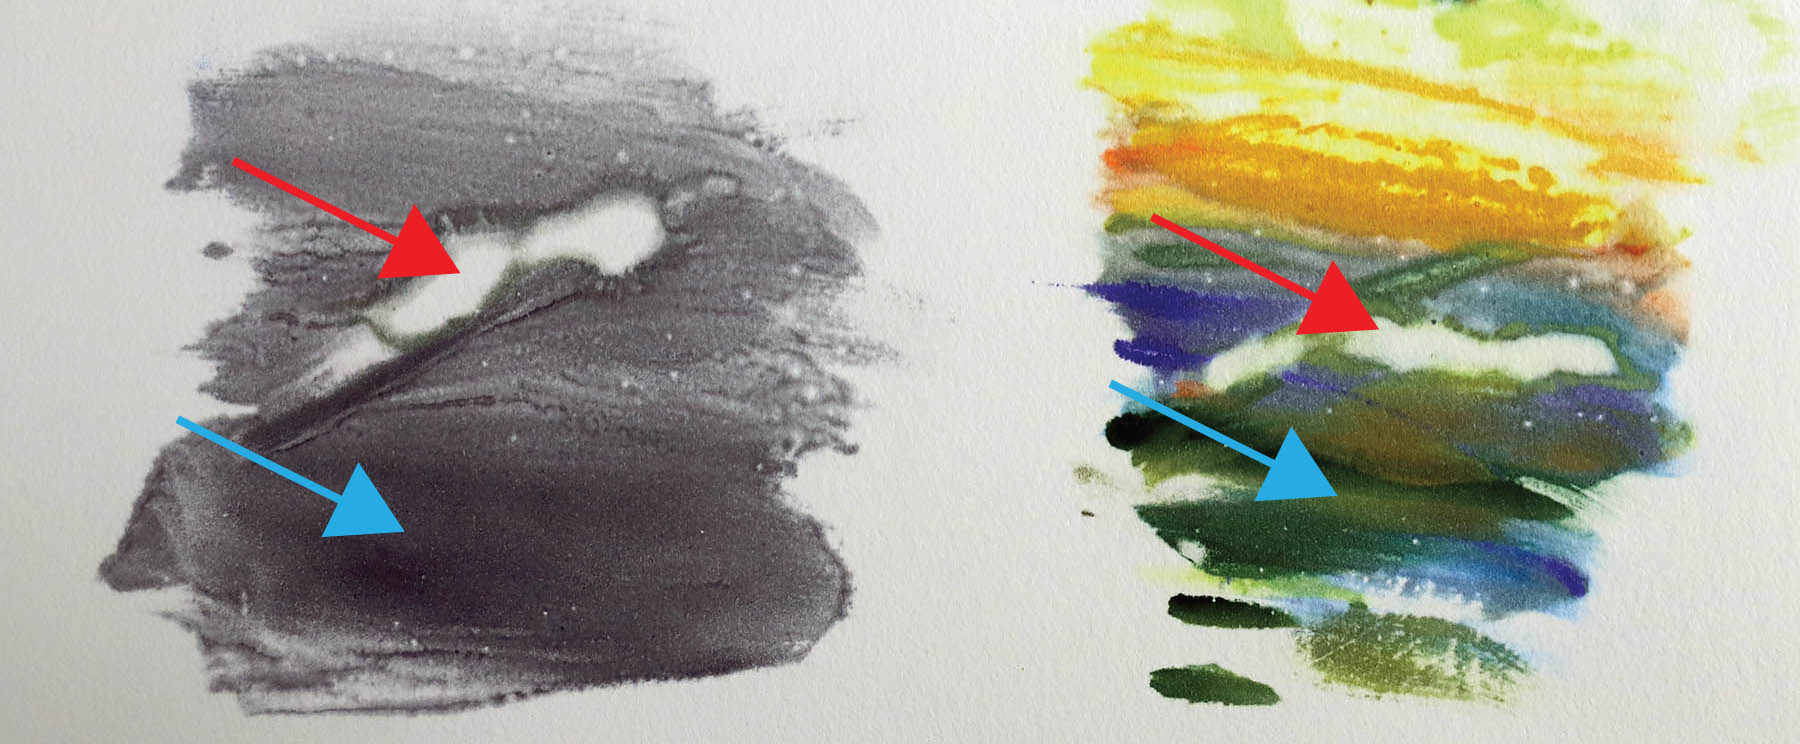
Test 1: QoR print on damp paper using a press. The paint was applied the day before and allowed to dry for 12 hours. Areas where the paint was thinned with water (Red) did not transfer at all. Areas where the paint was thinned with watercolor medium (Blue) transferred well.
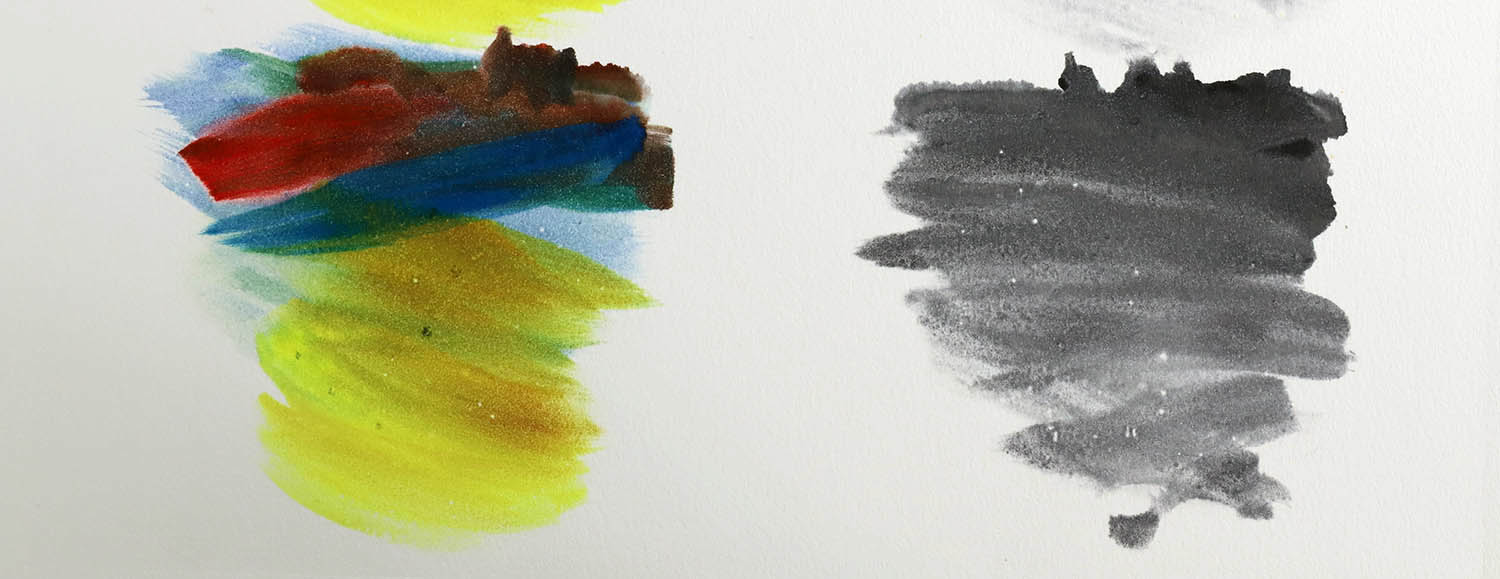 Test 2: QoR painted on plate with medium and no water, printed immediately on dry paper on a press. Marks were clear with vivid color.
WILLIAMSBURG OIL COLOR:
Transfers with oil paints will work, but yield different results than sticky printmaking inks. To minimize oil penetration into the paper, prepare it first by applying 2-3 coats of Fluid Matte Medium and let dry for at least 3 days. Print onto the treated paper once dry. Wetting the paper is not recommended.
Clean the plate with a soft rag and mineral oil. If further clean-up is desired, use a degreasing dish soap and water. Do not submerge the plate. Once a plate is used to print oils, it should not be reused with water media.
Special Thanks to Pratt MWP for opening up the studio to GOLDEN to perform these tests.
About Stacy Rosende
View all posts by Stacy Rosende -->Subscribe
Subscribe to the newsletter today!
No related Post

