When painting on watercolor paper with transparent watercolor, the paper often buckles and stays that way once the painting is dry. This article offers one possible way to flatten the paper using a temporary ‘paper press.’ This method is appropriate for paintings composed of thinly applied glazes and washes of transparent watercolor on paper, and the process has a built in water hazard so care must be taken. We do not recommend this process for impasto paint techniques. Thick applications of watercolor paint possess a higher percentage of binder and humectant than a greatly diluted watercolor will, and the thicker paint might stick to the blotting paper. Below we provide a materials list and step-by-step directions.
Materials List:
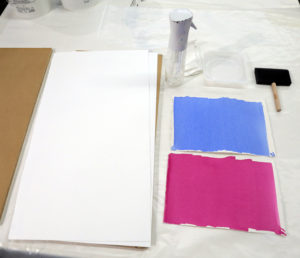
- A flat surface where assembly can sit for days
- Multiple pieces of clean blotting paper (or other thick, absorbent, acid free paper) in sizes larger than the artwork. These interleaving papers will absorb moisture from the painting.
- Two clean flat boards larger than the artwork (we used MDO boards)
- Clean sponge, sponge brush, or lint free cloth with a container of water
- Heavy things to use as weights: stacks of art books, gallons of water
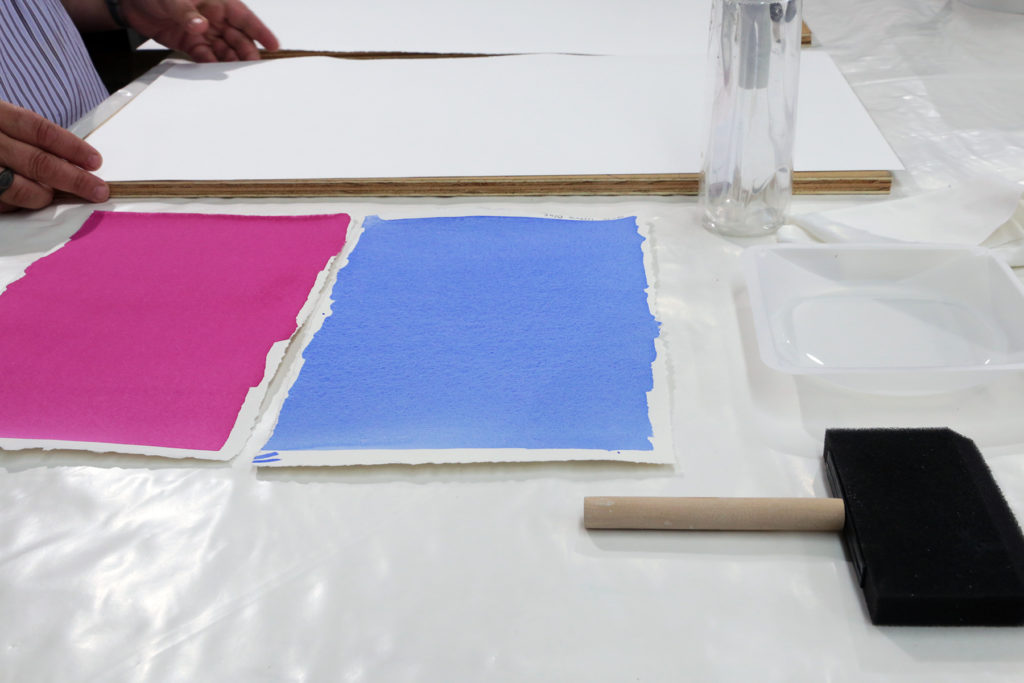
- The painting
- Optional: polyethylene plastic to protect the working surface
[divider]Process: Before flattening an actual painting, we recommend practice and testing with sacrificial applications of the same watercolors on the same paper.
- Prepare to flatten the transparent watercolor painting.

- Wash your hands to be sure there is no lotion or other product on your skin.
- Put the plastic down on your flat working surface.
- Place one of the boards down on the plastic.
- Put a sheet of clean blotting paper over the board. The blotting paper should be larger than the painting’s paper. The function of the blotting paper will be to absorb moisture and allow the dampened watercolor paper to dry.
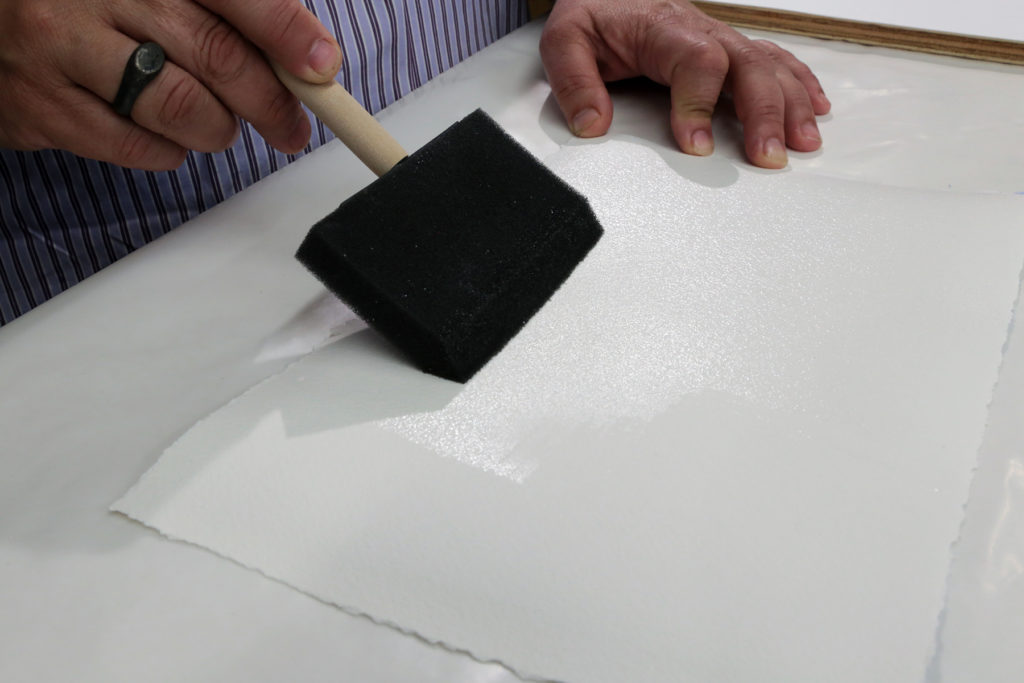
- Dampen the back of the painting.

Dampen of the back of the paper - Be very careful with this step, since water can damage a watercolor painting.
- Take the painting, put it face down on a clean flat surface, and lightly dampen the back with a slightly wet sponge, sponge brush, or lint free cloth. Try for an even coverage of dampness (not puddles of water), and be very careful to keep the water to the back. Water creeping to the front from around the edges, or through the paper itself, might re-wet the watercolor and damage the painting. Papers lighter than 140 lb./300 g.s.m. will take even less water, and there is a greater chance water might soak through the paper from the back and impact the painting.
- Assemble the temporary “paper press”.

Place the painting on the blotting paper. Put a clean piece of blotting paper over the painting. 
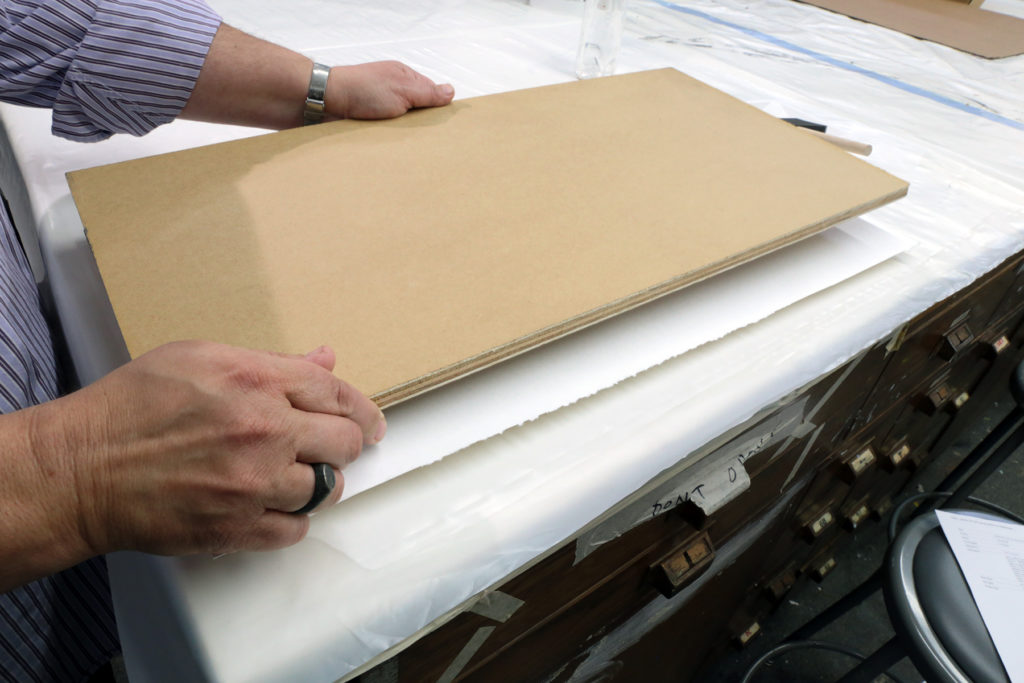
Position the second board on top of the second blotting paper sheet, and place weights on top of the board. - Place the painting onto the blotting paper over the board. The painting may be paint side up or paint side down.
- Put a clean piece of blotting paper over the painting, lining the edges up with the first piece of blotting paper.
- Position the second board on top of the second blotting paper sheet, and place weights on top of the board.
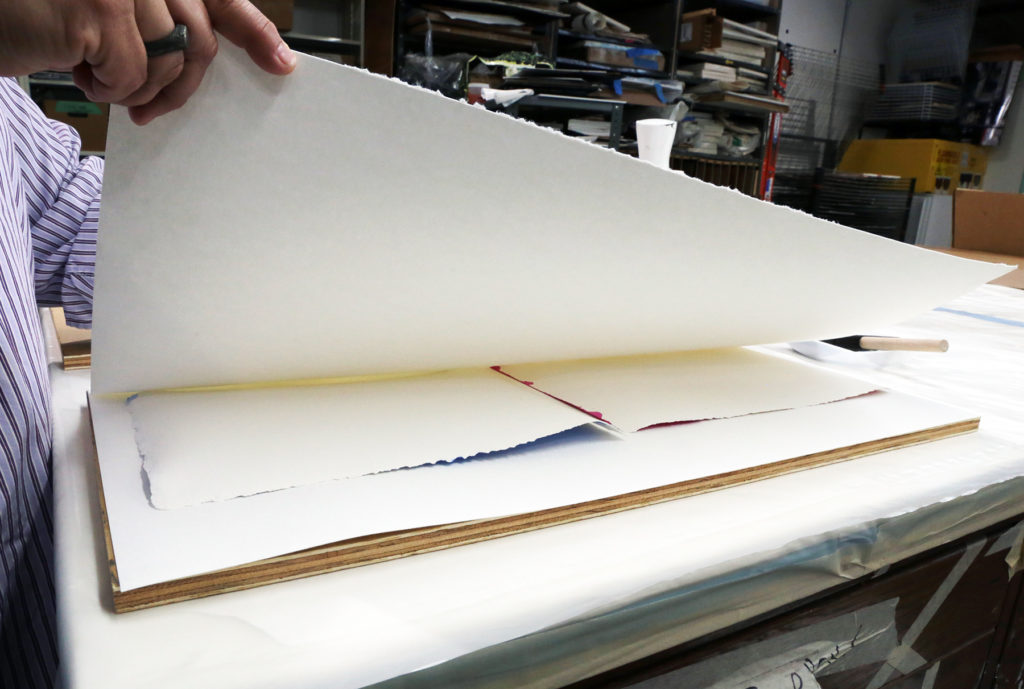
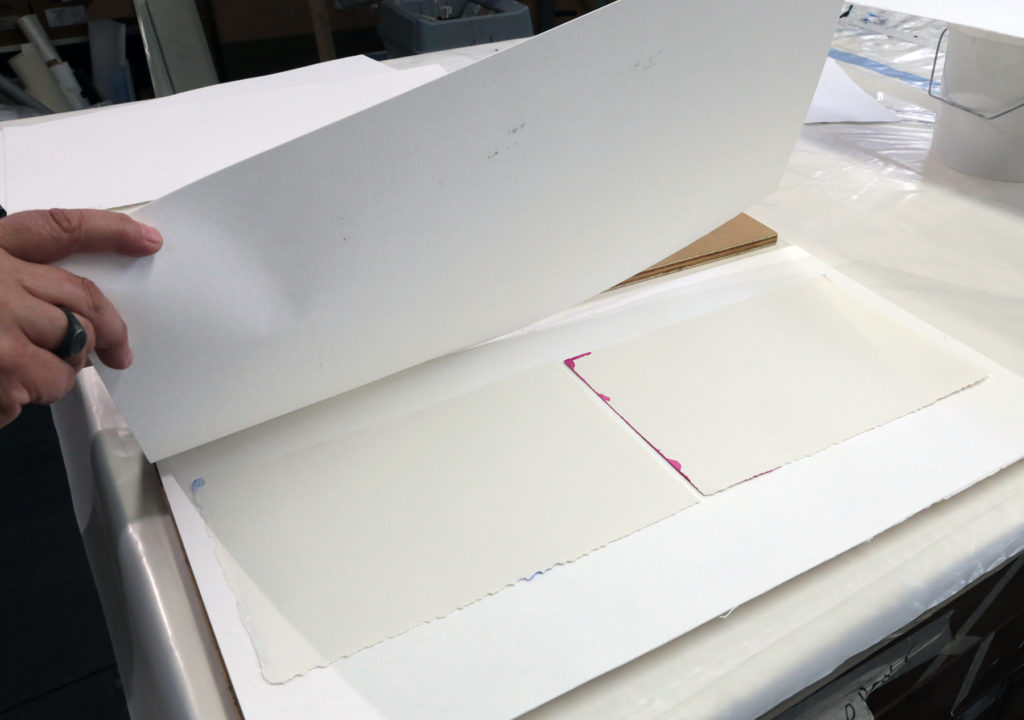
- Later, replace the blotting paper.

Replace damp botter paper with new, dry blotter paper. Note, the watercolor paper has already begun to flatten. - The next day take the layers apart and replace the now damp blotting papers with dry sheets.
- Repeat this replacement until the blotting papers and the back of the painting feel dry.
- For a final time, change the current blotting paper sheets with fresh dry ones. Reassemble and let the layers sit for another day or two just to be certain all the moisture has left the watercolor paper.
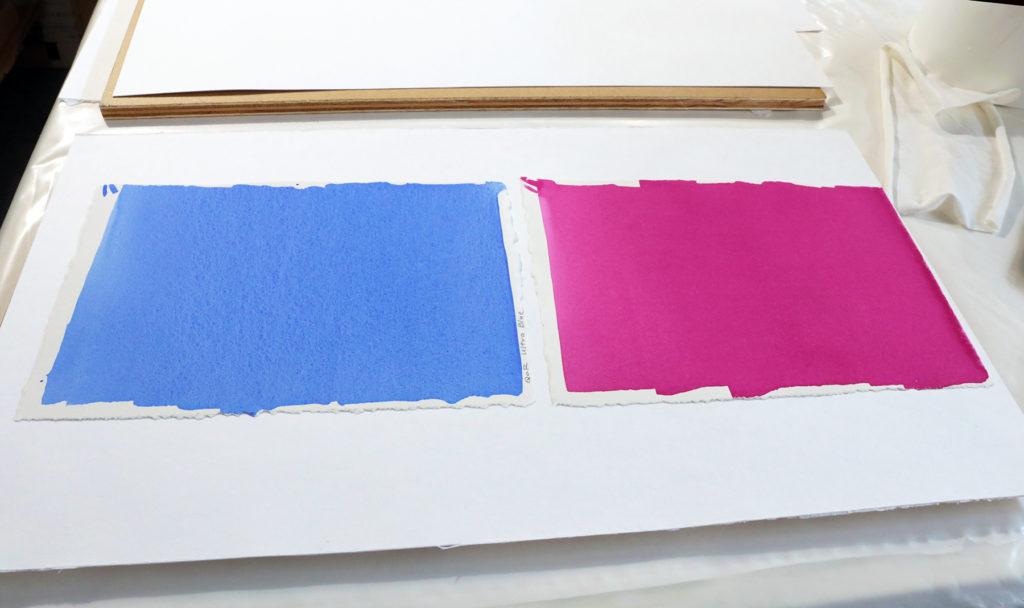
- Remove the flattened painting.

Flattened painting after completely drying. - Take your temporary ‘paper press’ apart for the last time, and the painting should be flat. If it is not flat, this process may be repeated with dry blotting paper sheets.
Conclusion:
Be careful when wetting the back of the paper so the painting is not harmed, and be aware that the process might reduce the amount of surface texture visible with a Cold Pressed or Rough watercolor paper. This process works well for 140 lb. / 300 g.s.m. and thicker watercolor papers. When using thinner papers, it might be a good idea to test how damp the back of the paper can safely be before proceeding with the flattening of an actual painting. Flattening the paper now does not eliminate the possibility of future buckling as the paper responds to ambient moisture.
For information on how an art conservator might approach flattening paper, see Stephanie Watkin’s article “Practical Considerations for Humidifying and Flattening Paper” The Book and Paper Group Annual Vol. 21 (2002), pp 61-76.

thanx for sharing! i’ve used this process for a number of years now only a bit rougher — no plastic or board, books as weights. i use 300# paper. i’m going to add the boards to my process!
Hello Lisa,
We find that using boards — especially the one on top– helps to distribute the weight evenly over the entire paper. This contributes to even flattening. If you have an even tabletop or counter space and no plans to move the paper press, the bottom board is not really needed. And I must admit that when I flatten my own watercolor paintings, I also use books as weights (usually art history books!).
Happy painting,
Cathy
Hi Cathy. Back in the dinosaur times, we were told to soak our watercolor paper in the bathtub with warm water to remove the sizing and then taping it around all edges with masking tape until dry. Is this no longer acceptable practice? I realize your methods are for people who have already painted and want to flatten the paper afterward, but do we ever talk about what to do prior to painting to ready the paper? Thanks! Janet Wise
Hello Janet,
Thank you for your questions. Today, artists paint on both stretched paper, and paper that has not been stretched. Soaking paper in water and then attaching it to a board continues to be the approach when someone wishes to “stretch” watercolor paper so the paper does not buckle when painting. The idea is that the paper will evenly expand as it absorbs water, then shrink as it dries. To attach the paper, gummed tape that activates with water is still an option, as are staples. There are also newer inventions that assist with stretching paper. Just be careful that the container in which the paper is soaked is completely clean– lotions and cleansers can float and impact the paper surface in negative ways. Soaking will remove sizing, which can impact the way the paint and paper interact.
Happy painting,
Cathy
Ever use an iron to flatten rumpled papers? Place a dry piece of paper over the face down watercolor and iron it smooth. Taboo?
Hello James,
We have not tested flattening a watercolor painting with an iron, however we have seen it done. We would suggest putting the painting face down onto the blotting paper on a flat surface. Mist or dampen the back of the painting with water and place a thin protective material over it. A another piece of paper, or a wrinkle-free lint-free cloth might work. The ironing then happens through the barrier rather than directly on the painting’s back. It would be important to do some testing and practice to learn how quickly the iron should be moved, and to check which heat setting would be best so the painting does not become too hot. We suspect that the painting would then need to be put under weights at least overnight to ensure the flatness remains.
Best Regards, Cathy