
(Or, how to keep your tubes from turning into tiny, paint-filled fossils)
Let’s be honest—during the heat of painting, “tube maintenance” isn’t high on anyone’s list. We’re more likely to lose the cap than to carefully twist it shut. But once the flurry of creation settles, taking a few minutes to give your paints some loving care can make a surprising difference. Your colors will stay clean, paints will last longer, and you’ll save yourself the heartbreak of finding your favorite Quinacridone Magenta petrified in its own tube.
Think of it as studio self-care. Five small habits go a long way:
- Cap it straight and snug. A crooked cap might look innocent now, but it’s the beginning of the end.
- Keep those threads clean. Dried paint here is the root of most evil.
- Push paint forward and crimp the tail. Tubes breathe—don’t give them air pockets to dry out in.
- Treat them kindly. Store them so they’re not poking or puncturing each other.
- Avoid extremes. Heat and cold will age your paint faster than an open jar of yogurt.
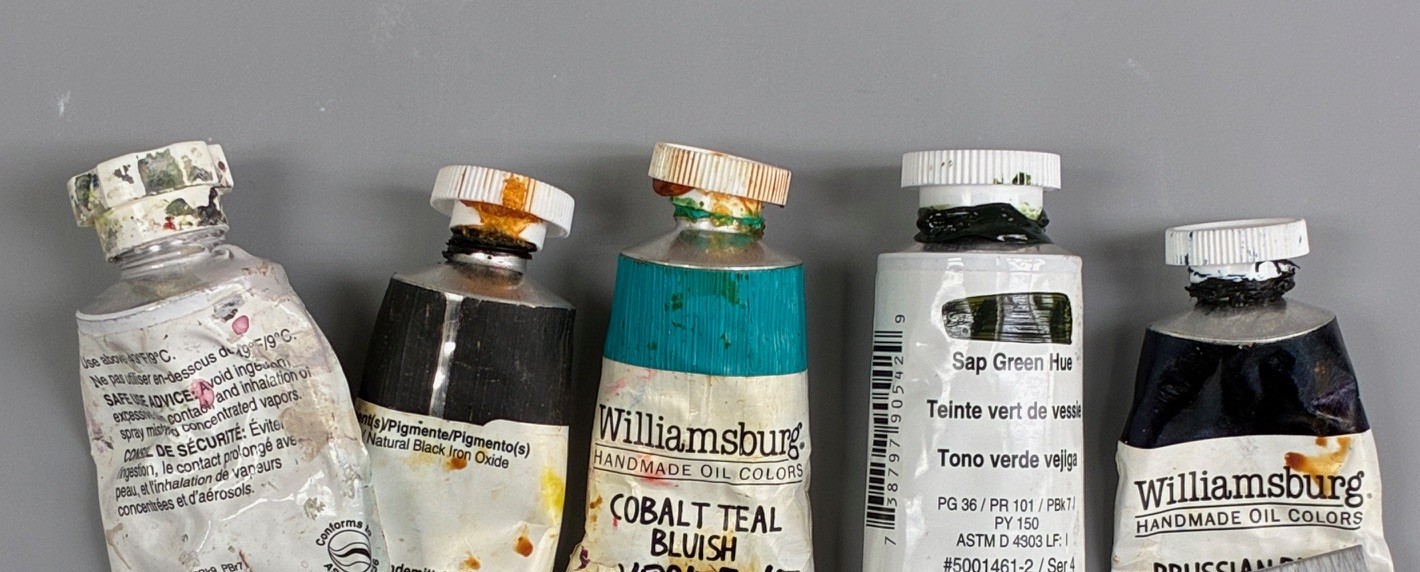
The Quick-Dry Dilemma
One of the great gifts of acrylics—their fast drying time—is also their Achilles’ heel. A few minutes uncapped, and you can end up with a crunchy crust that ruins a good seal. Oil paints are more forgiving, but they, too, will skin over if ignored. The three main villains of tube tragedy are crooked caps, dirty threads, and broken caps. All start small, all end badly.
When you’re capping, avoid squeezing the tube. It only forces paint into the threads, where it dries into a small geological formation. Handle the tube as you would a baby bird—or maybe a tiny, colorful lizard you’ve just befriended. Gently find the thread, twist softly, and stop before you strip it. During a painting session, one easy turn is enough; tighten it fully when you’re done for the day.
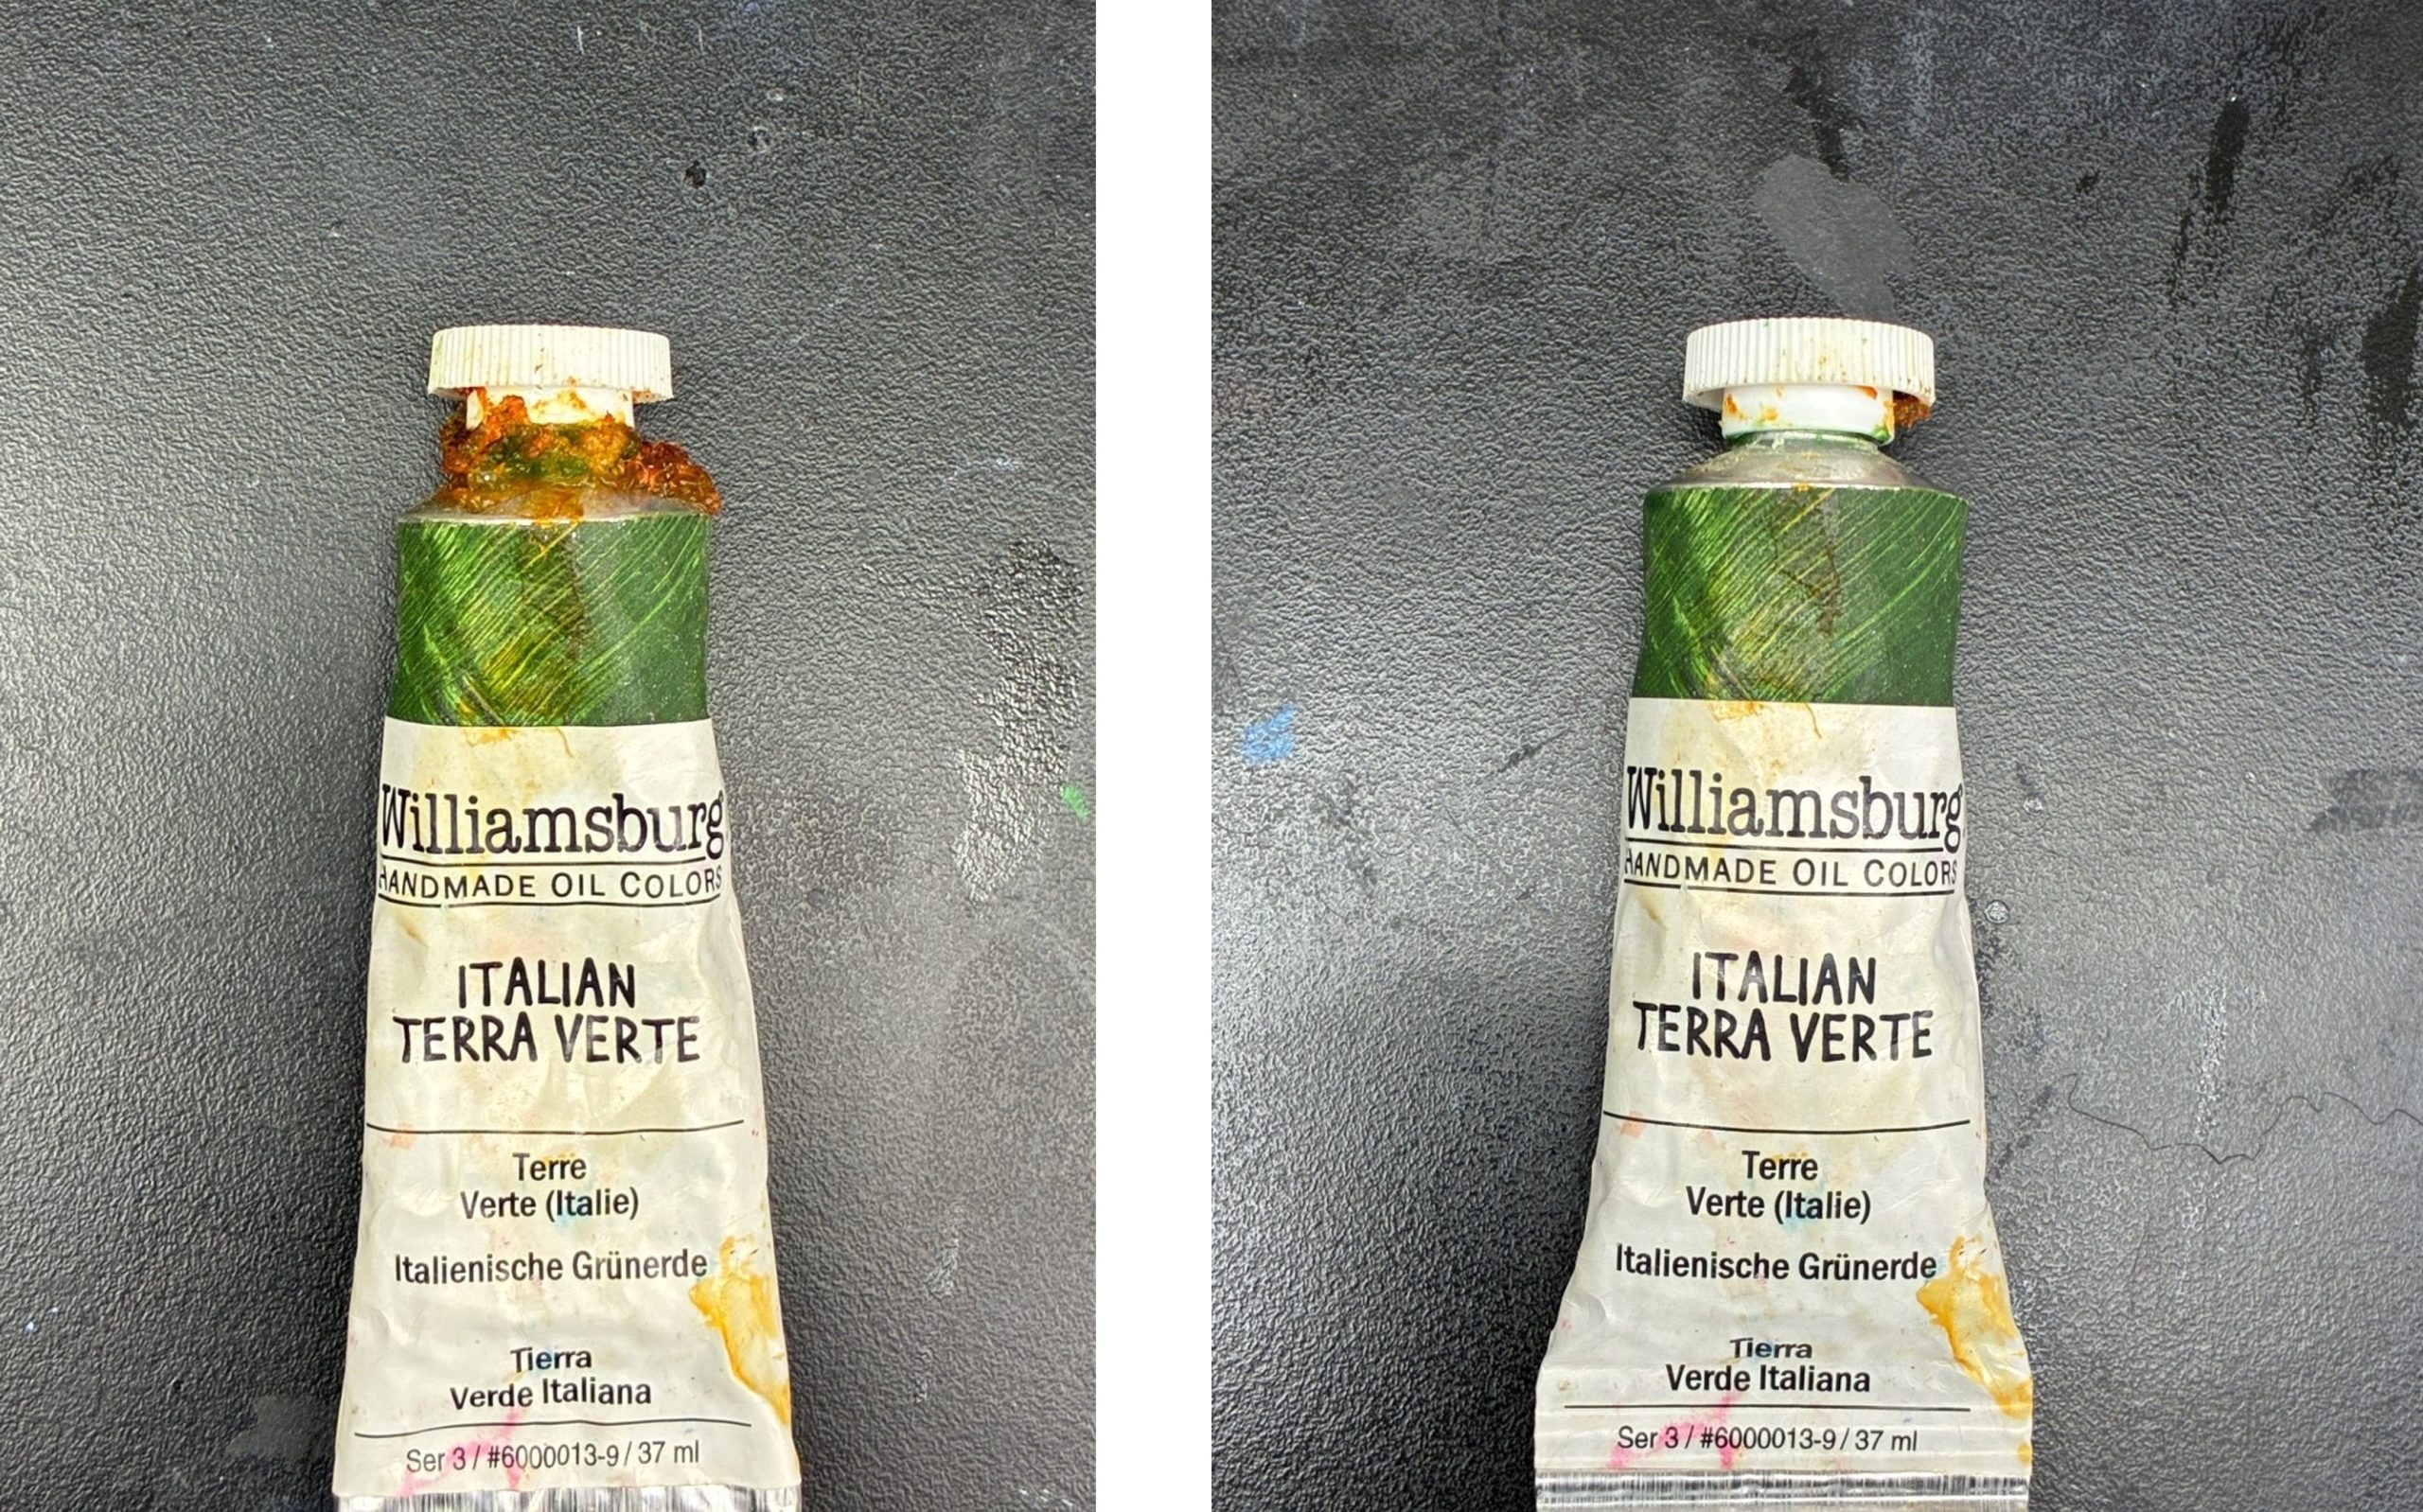
Cap Chaos
If your threads do get messy, clean them sooner rather than later. Hardened acrylic and oil can usually be softened with warm water. For extra-stuck caps, hold the tube around the shoulder as you attempt to open so you don’t twist the entire tube. If the cap remains stuck, place your tube upside-down in a small cup of hot water just enough to submerge the cap. Allow a couple minutes for the warmth to soften the acrylic or oil, then check to see if the cap is easier to remove.
If your cap won’t go onto coated threads, then soak a paper towel in hot water and wrap the exposed threads to soften the paint. Then, try to scrape off the dried bits with your thumbnail or edge of a thin tool. Don’t use a sharp tool, as it could slip off the metal threads when you’re applying force and cause damage or injury. Apply force away from your hands and body to minimize risk. We recommend gloves when cleaning tubes because they can get messy. There are also clever tools for this, like Big Portage Innovations Gunk Tool & Cap Wrench for cleaning threads.
Our GOLDEN GRIPR tool is designed to open and close the caps on all of our tubed materials and those of many other brands, while greatly reducing hand strain. Good ‘ol adjustable pliers, though potentially too aggressive, are another option, if you have the dexterity to gently grip the jaws around a stuck cap. Any sort of “handle” will improve your ability to apply torque to a stubborn closure.
The Art of the Straight Cap
Cross-threading is a silent saboteur. Once those metal threads carve a new groove in the plastic cap, you’ll never get a proper seal again. The trick to avoid cross threading is to start by turning the cap backwards until you feel the click of the threads settling in, then screw it on normally. A few seconds of attention here will save you a world of frustration later.
If your cap breaks—yes, we know it happens—let us know. We had an issue several years ago when our caps were manufactured from plastic that was a bit too hard, causing them to break and allow paint to dry in the tube. Broken caps happen for other reasons, too. Caps can become brittle if they are exposed to significant UV light. Caps can stretch out and crack if forced onto dirty threads. A cap could break if a tube is dropped onto the floor. Regardless of the reason, if you have broken caps, please let us know and we will send you replacements for your tubes. Here is a link to our cap replacement form.
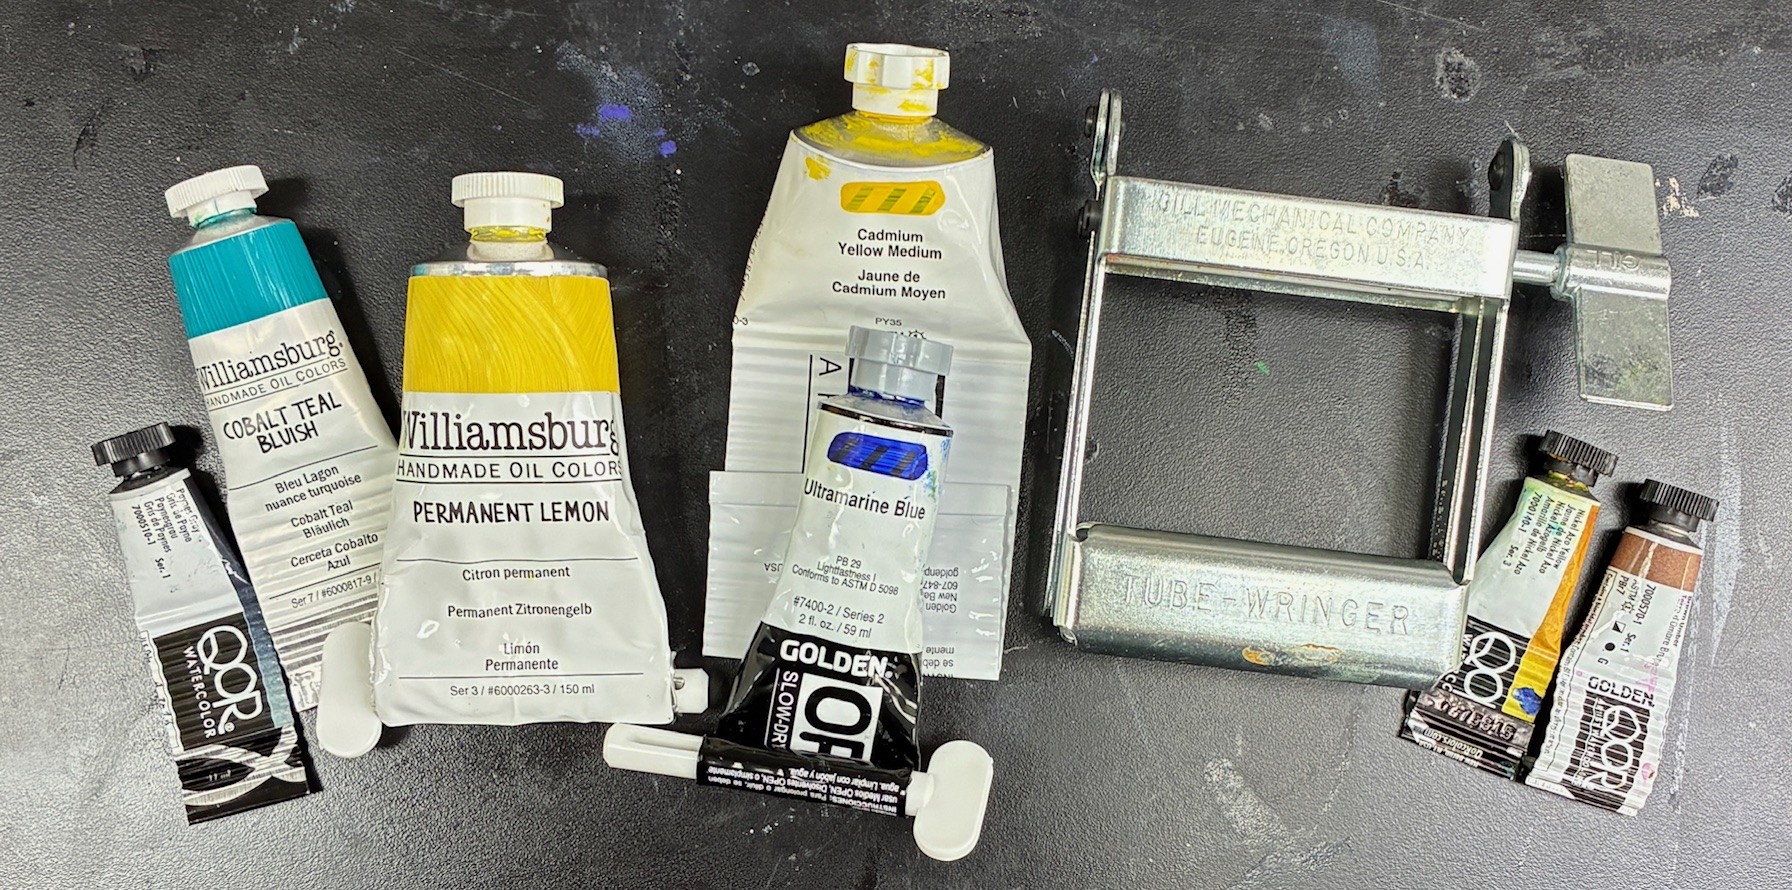
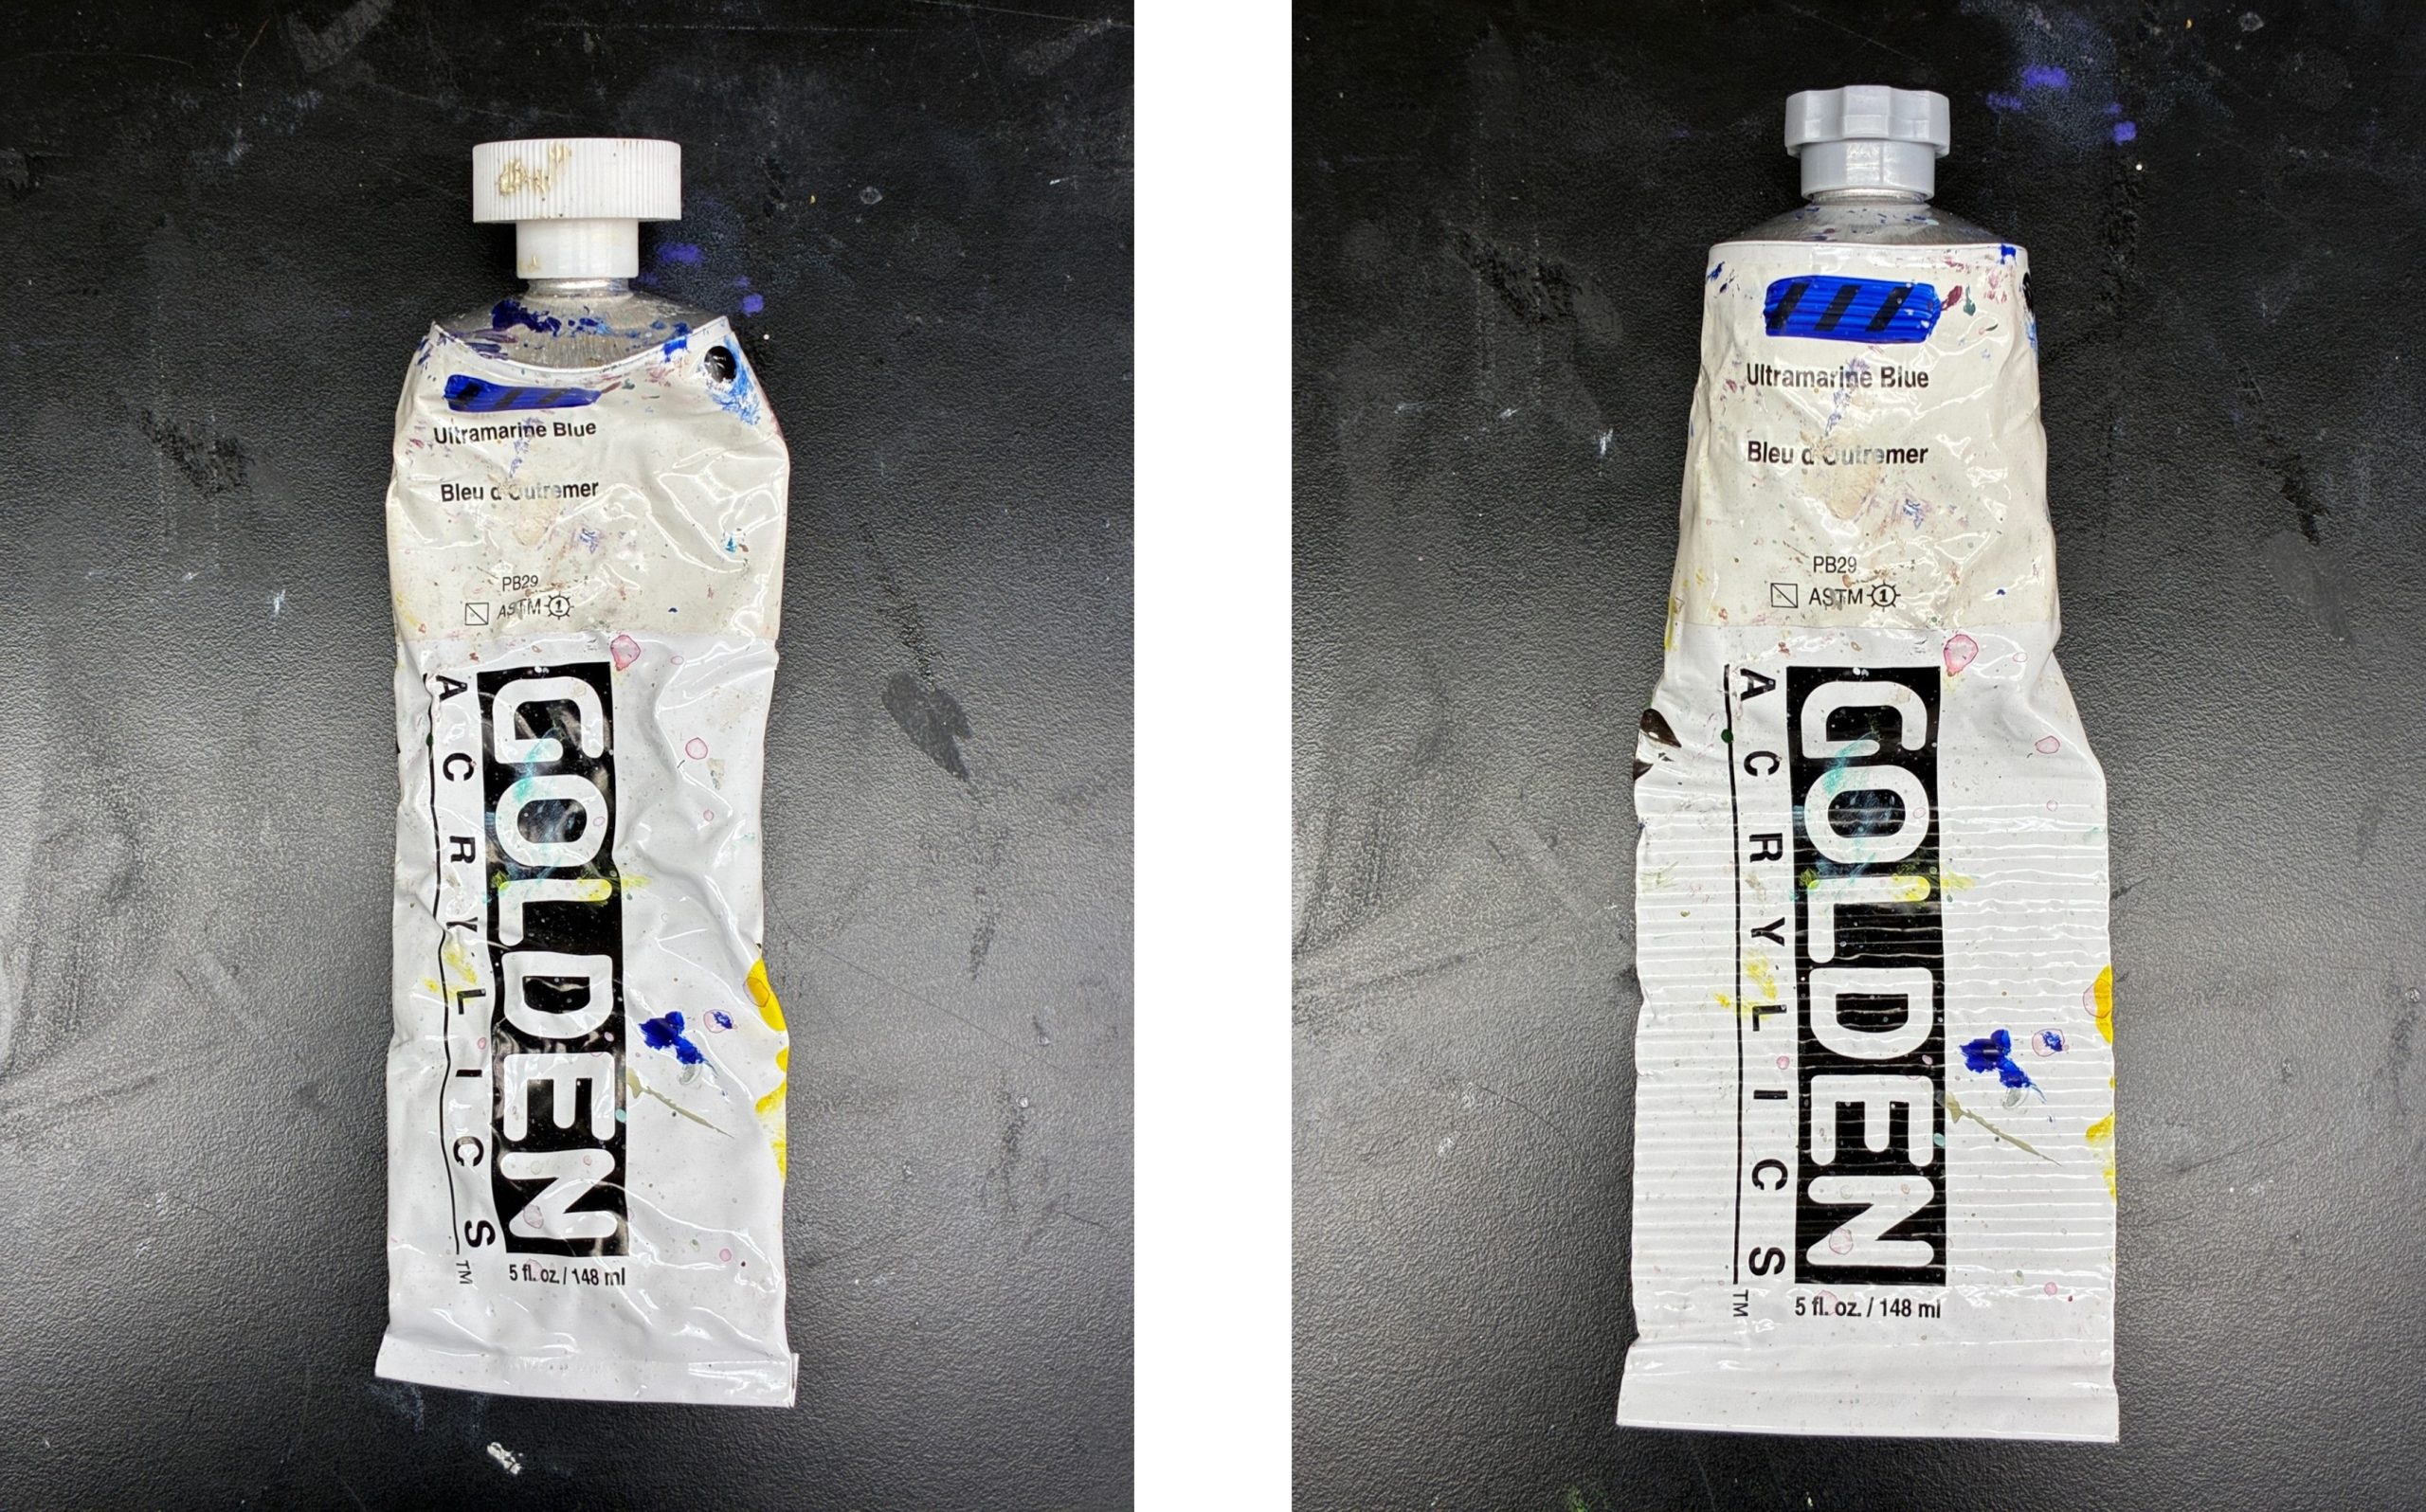
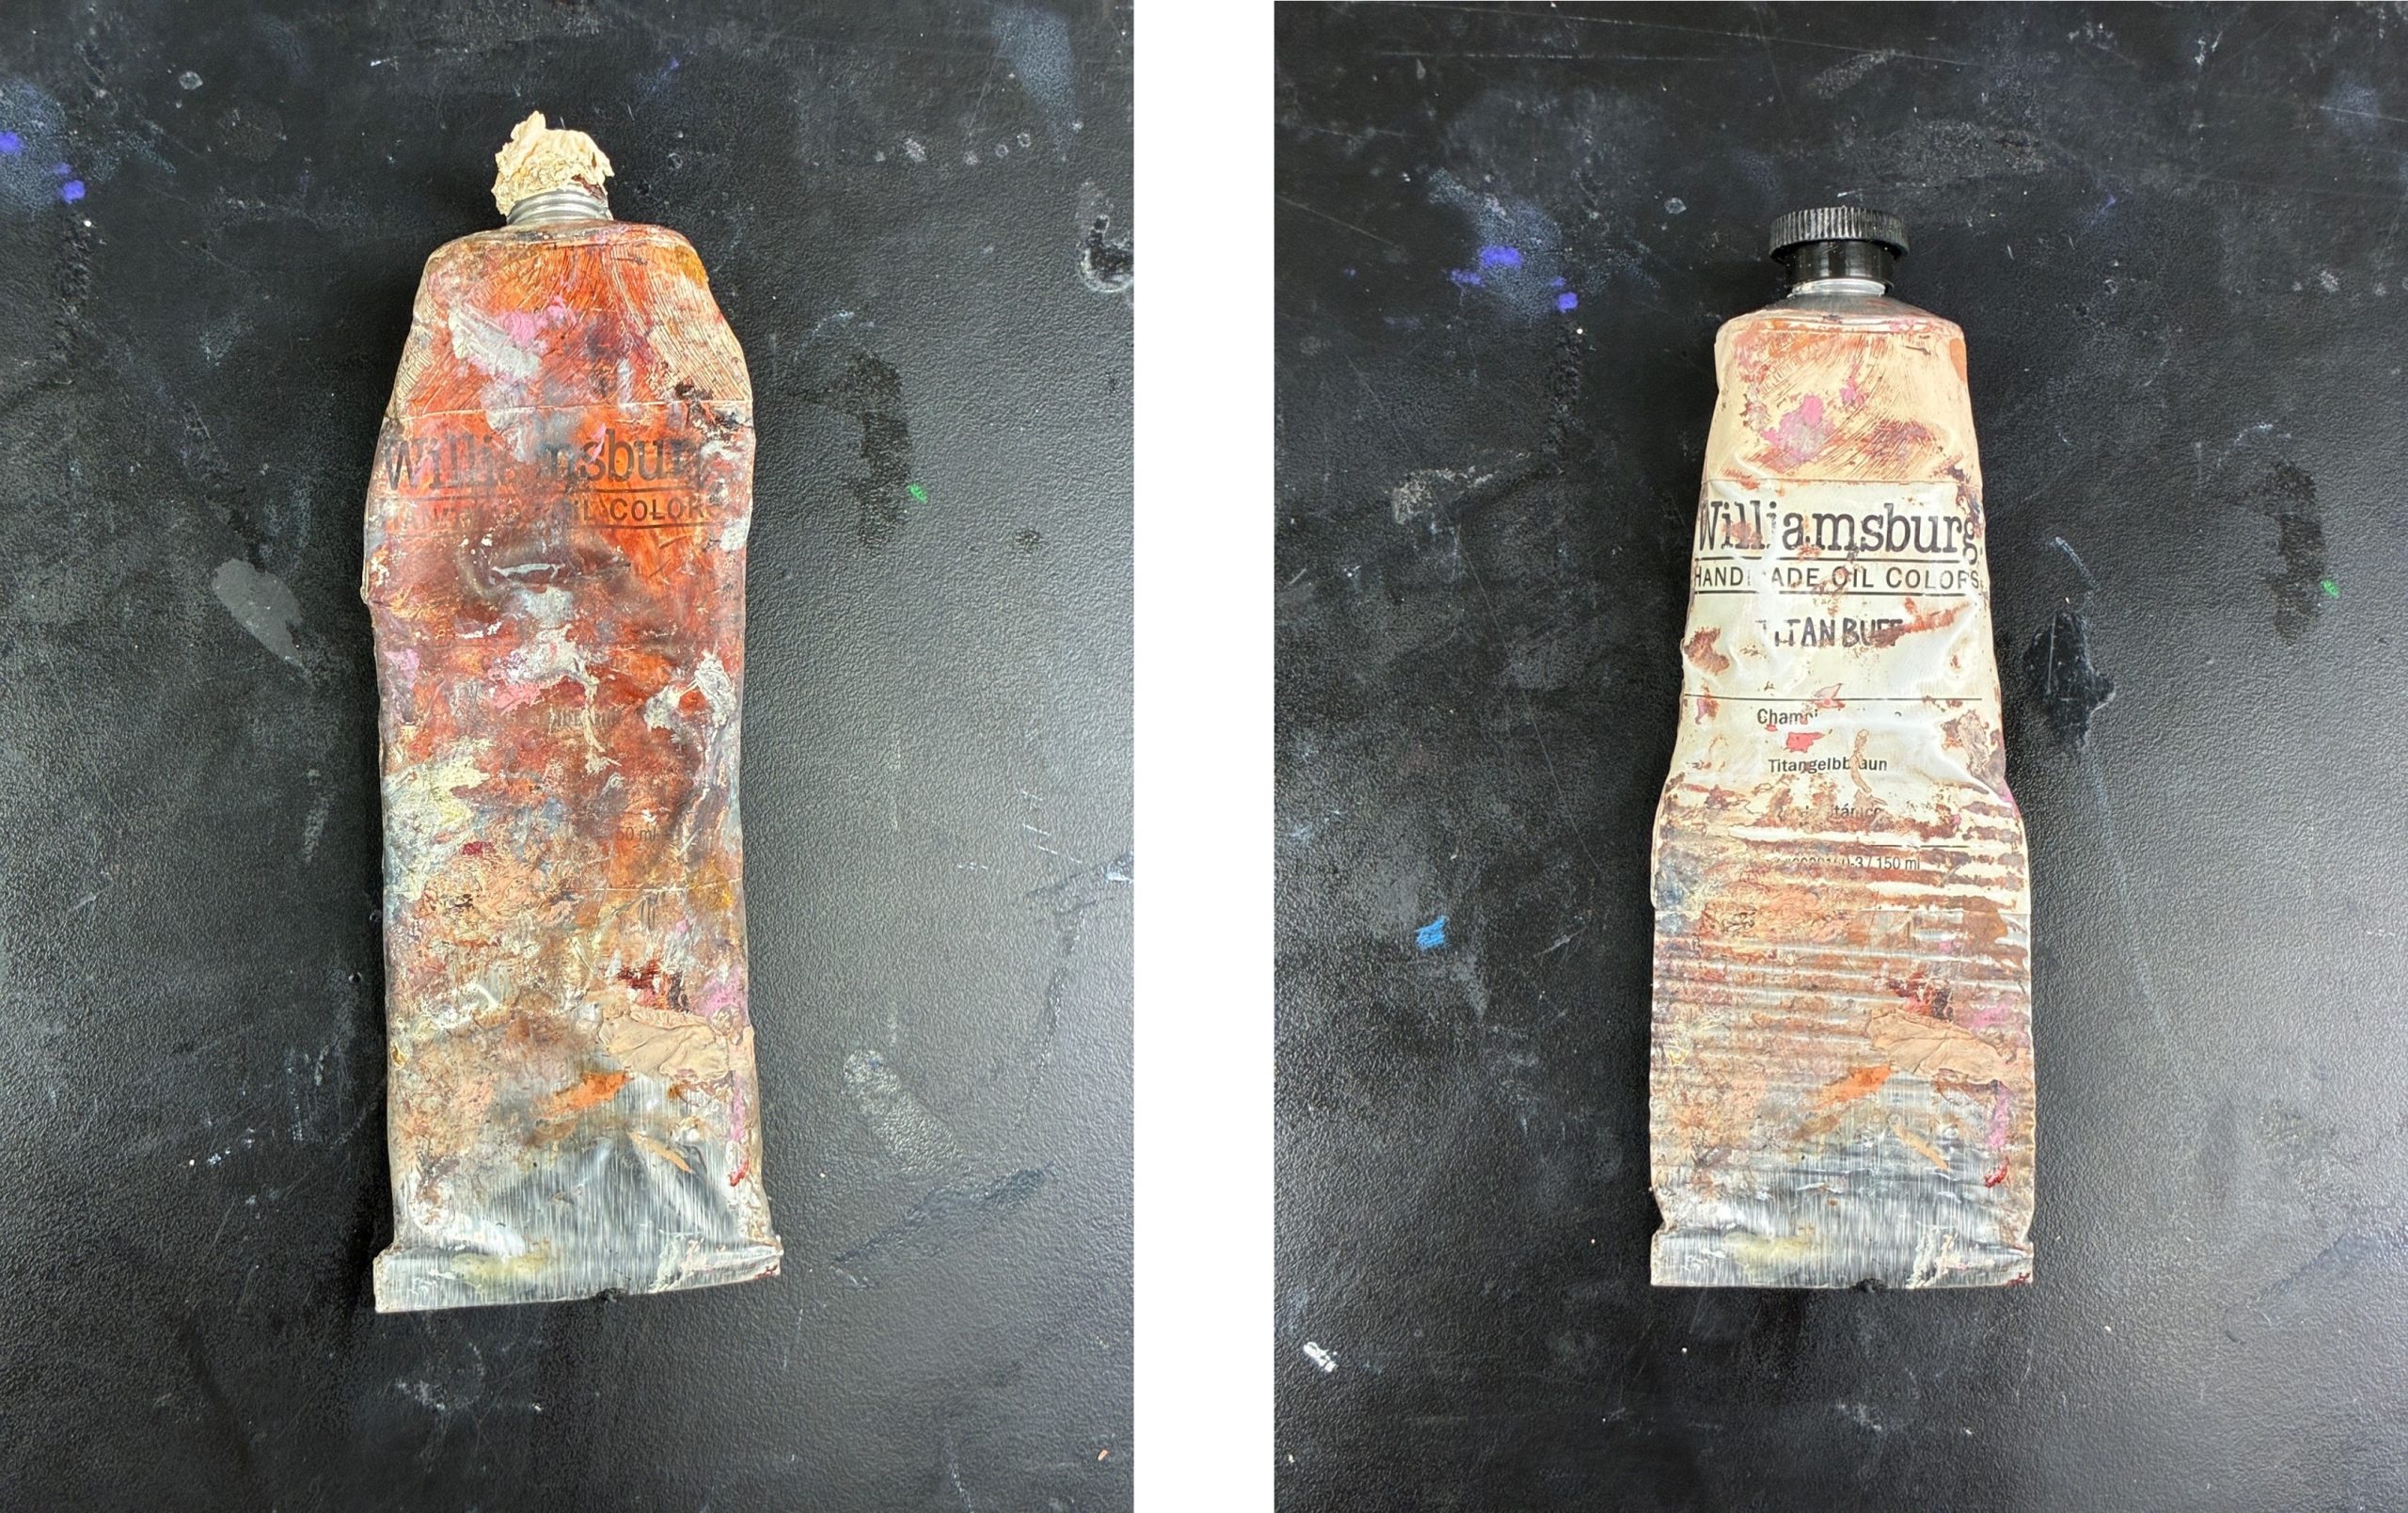
Consolidate and Conquer
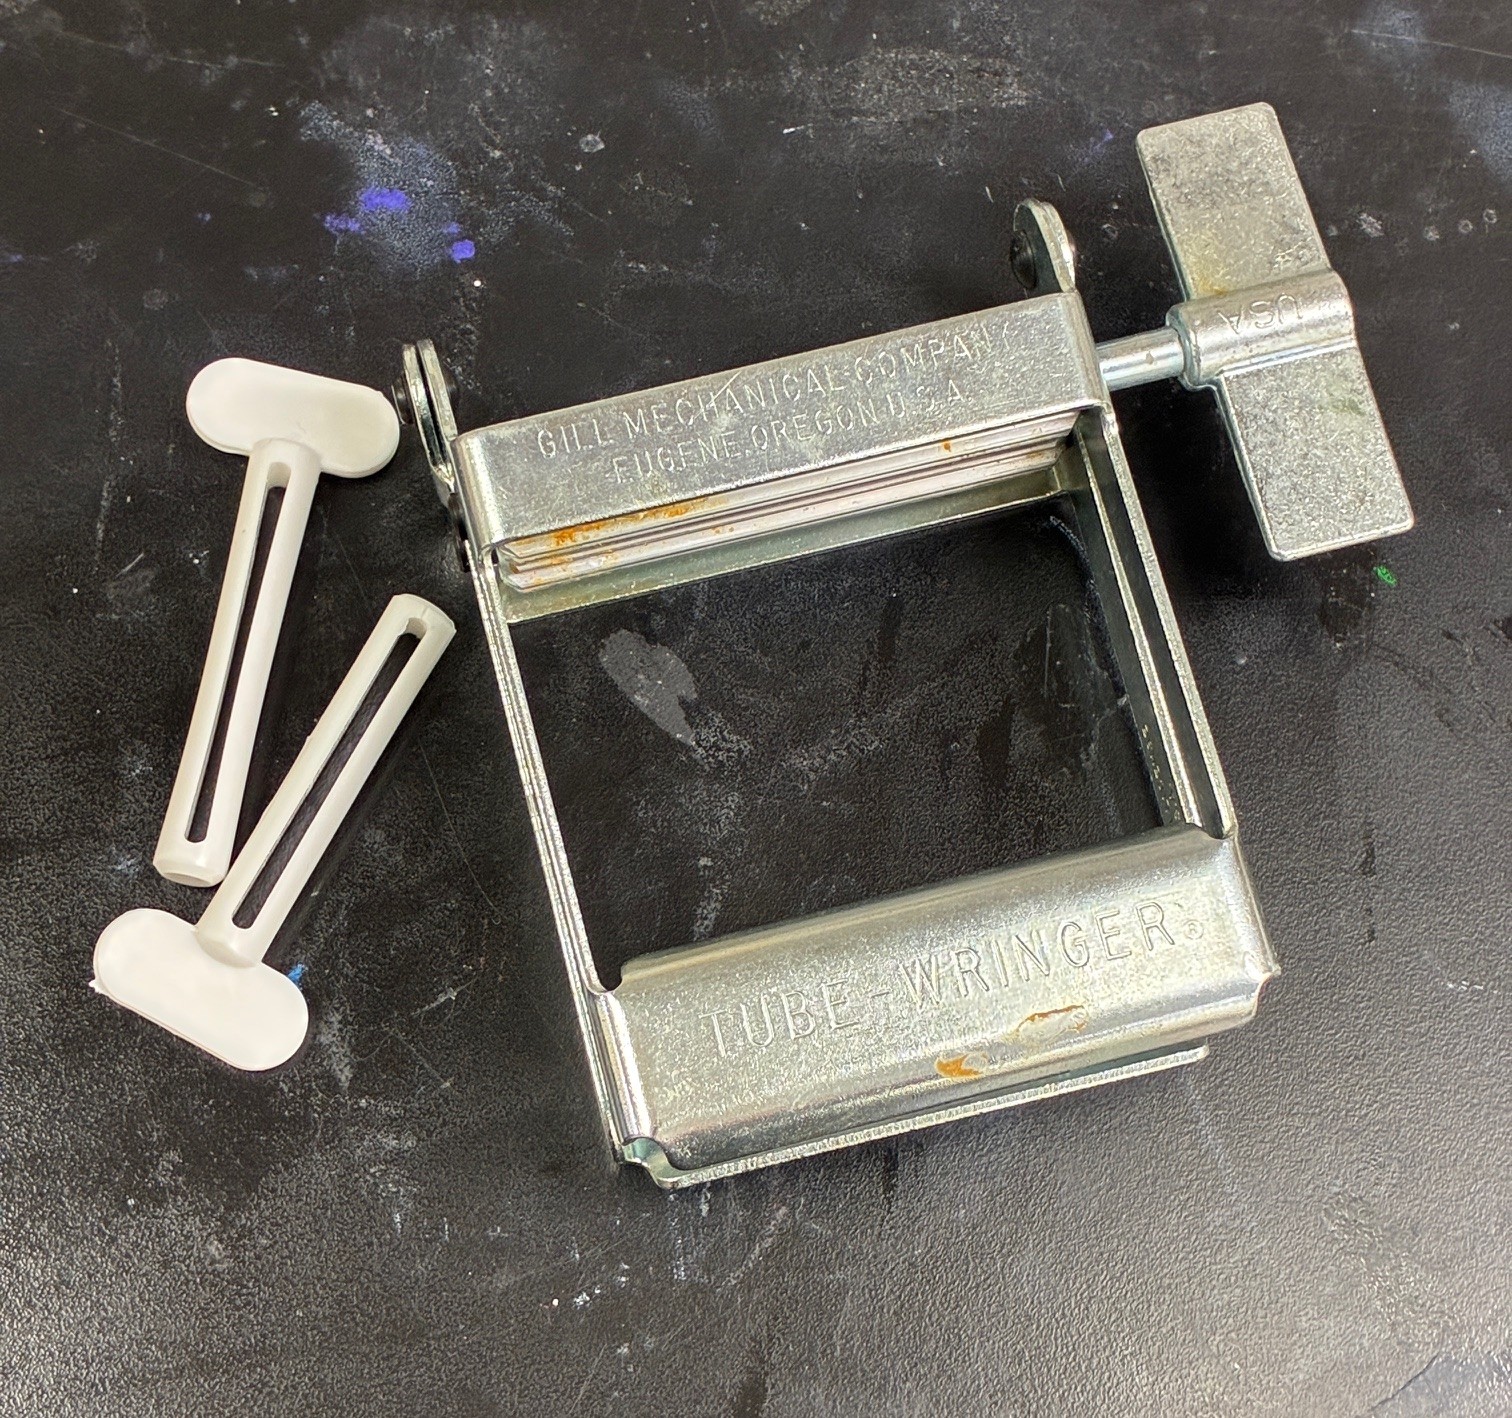
After closing, squeeze and flatten your tube from the crimp up. The goal is to push all the paint forward toward the cap. Air pockets are the enemy; they let oxygen sneak in and dry out your paint. Tube wringers and keys work beautifully for this. Aluminum holds its form, so once it’s crimped, it stays that way—just don’t fold it back and forth in the same spot or you’ll end up with a pinhole leak and a very colorful mess.
Storage: The Last Refuge of Order
Even the best-behaved tubes can get dinged, dented, or punctured if tossed into a bin. Those sharp crimped corners can jab their neighbors, especially if you store a dozen heavy tubes together. Handle them gently; your paints deserve better than to live like sardines.
Temperature matters too. Avoid freezing, and don’t store them somewhere you wouldn’t want to take a nap. Room temperature—around 72°F (22°C)—is ideal. Consistent warmth and comfort extend not just your paint’s life, but your own studio happiness.
In Closing (Literally)
At GOLDEN, we stand behind every product we make, and our no-expiration-date guarantee reflects that. But like any relationship, it takes two. Proper care and storage help us honor that guarantee and help you avoid waste, expense, and heartbreak.
So, before you wrap up for the day, take a moment for your tubes. Clean the threads, twist the caps straight, press the paint forward, and give them a little pat of appreciation. It’s a small ritual of respect for the tools that carry your creativity—one that ensures your favorite color is ready, willing, and wonderfully fresh when inspiration strikes again. Keep in touch.
[email protected] or 800-959-6543.
Tube Makeovers – Better late than Never


Thanks for the tips. This article is speaking to me today because next week I have a consultation with a hand surgeon to see about a surgical procedure that will give me back the ability to use my hands normally. I thirst for the feeling of putting paint on paper or wood or canvas the way I used to.
I have had to adjust my painting style to accommodate a hand condition (Dupuytren’s) that limits how I use my hands. I’ve used almost every trick for loosening caps you mention, but I think the better grip on the new caps will make a big difference, even after my surgery. I am religious about cleaning threads and caps. My preferred method for keeping the tubes healthy is using the back of a large tooth comb to push the paint up. I don’t turn the tube until it is at least half-empty (to avoid breaking the edges as you mention. I am going to see about replacing some caps with the new cap you show in a coupld of the pics. Haven’t used keys because of the hand issue,
Now then: please do a similar article on cleaning and preserving brushes. I no longer let my son-in-law use any of my brushes (household or artist). He paints well, but somehow can’t get through his head that brushes will stay good forever if given the appropriate TLC. I’ve seen a lot of painters who seem unaware of the simple things they can do while painting that makes cleaning up after a snap and keeps paint buildup at bay. So how about an article on that (and maybe other painting tools)?
Hello Annie, thank you for your input. We do have a section on brush care in the Just Paint article “Acrylic, Oil, and Watercolor Brushes” which might be useful. To request replacement caps, a link to the request form may be found on this page of the Golden website.
Thanks, I took a portrait class and was the sole acrylic painter. They left the caps off their tubes the whole time. I also take a cotton swab with a bit of Vaseline and put it on the threads. Saves stuck tops. Not much to avoid mixing with paint.
I also practice the floculation of rinse water for acrylics.
This is an interesting approach, we will have to try it! Just be sure no Vaseline gets into the paint as it might cause issues with drying and adhesion.
I have read a claim that storing your tubes upside down helps prevent drying, but it doesn’t seem practical. Maybe for some color you use rarely.
Storing oil paint tubes upside down can be popular for colors prone to oil separation, since the oil is less likely to gum up the cap area of the tube. We have seen photos of oil paint tubes hanging upside down from clipboards using little binder clips clamped to the tube crimp. If an artist is worried about air somehow getting into a partly used tube of acrylic or watercolor, then an option would be crimping from the bottom of the tube and pushing the paint gently up toward the cap.
There are no videos loaded on this page.
There are two embedded videos, each is about the size of the images in the article or the width of the text column. The first video is “Stuck Tube Cap?” and the second “Don’t Waste Paint!” After they play, you will need to click the replay button to see it again. We hope this helps!
Vaseline applied carefully with a q-tip around the threads can save some grief.
Please be cautious so the Vaseline does not become mixed into the paint, but otherwise this might work well.
Whenever I open a new tube of acrylic paint, I rub a little bit of vaseline into the threads, put the cap on, and twist the cap back and forth, back and forth a few times to distribute the vaseline in the crevices of the threads on the tube and cap. This way, if a bit of paint tries to get into the threads later, it won’t stick because of the vaseline, and it’s easy to open and close the cap forever more.
This sounds like it might work, although we do advise to be careful not to mix the Vaseline into the acrylic paint since it might interfere with drying and adhesion.
After the tube no longer has paint to squeeze out, I cut the metal end off. The sides, crimped by the Tube Wringer, are great for scratching into wet paint to add texture.
Thanks, Mary! What a neat idea for getting the most out of your tube. Your “sgraffito” method sounds modern yet connects you to a rich history of subtractive mark-making. With our Silverpoint Ground or other fine-toothed white grounds, you could use that strip of aluminum tube material for additive mark-making as well.
Loved this — it turns out something as mundane as paint‑tube care can feel like a small act of studio self‑love. I feel grateful for the reminder that treating your materials gently means they’ll stay vibrant and ready for creativity. It makes me want to give all my paints a care ritual.