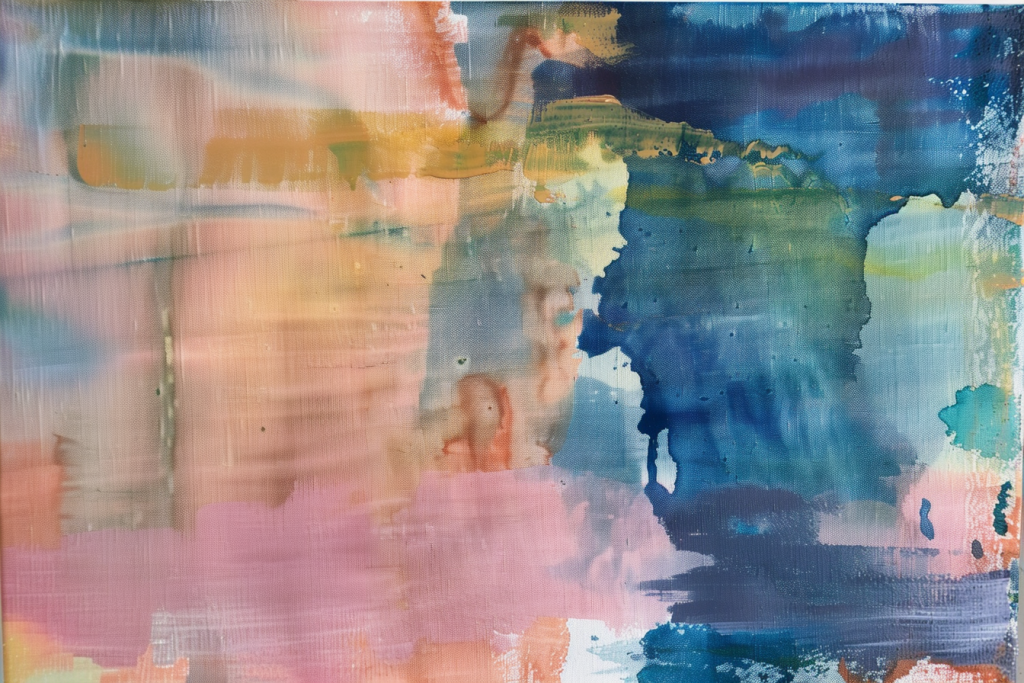
The allure of raw canvas combined with the fluidity and vibrancy of acrylic stains has captivated artists and art lovers for decades. Artists such as Helen Frankenthaler and Morris Louis, and their contemporaries in the Color Field movement revolutionized the art world with their innovative soak staining techniques, creating mesmerizing compositions that celebrated the intrinsic qualities of the materials themselves.

Understanding Stain Paintings & Why They Require Proactive Care
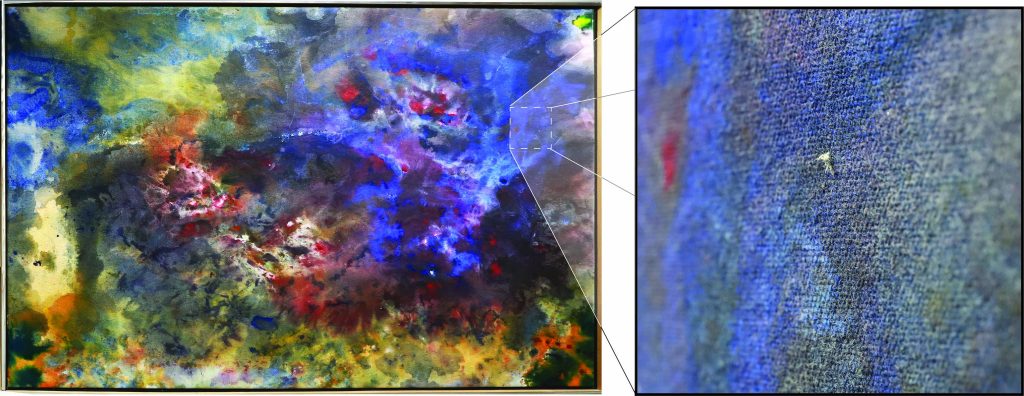
Stains, while beautiful, have certain vulnerabilities as a result of how they are built-up. Stain paintings differ from traditional acrylic or oil paintings in that they have no ground layers. The highly diluted paints are soaked into the support, rather than sitting on top of it. Therefore, the canvas substrate becomes an essential part of the aesthetic of these paintings. Stain paintings are generally not varnished in order to preserve their raw, matte appearance. This results in a highly delicate surface that easily accumulates dust, retains fingerprint oils, and absorbs moisture. Proactive care is therefore recommended in maintaining the integrity of these artworks. In the following paragraphs we provide some essential tips from the field of conservation, to ensure their longevity and preservation. These guidelines are for professionals working in the field of collection care, but are good to know for artists working in this style.

Practical Advice
1. Keep in Ambient Conditions
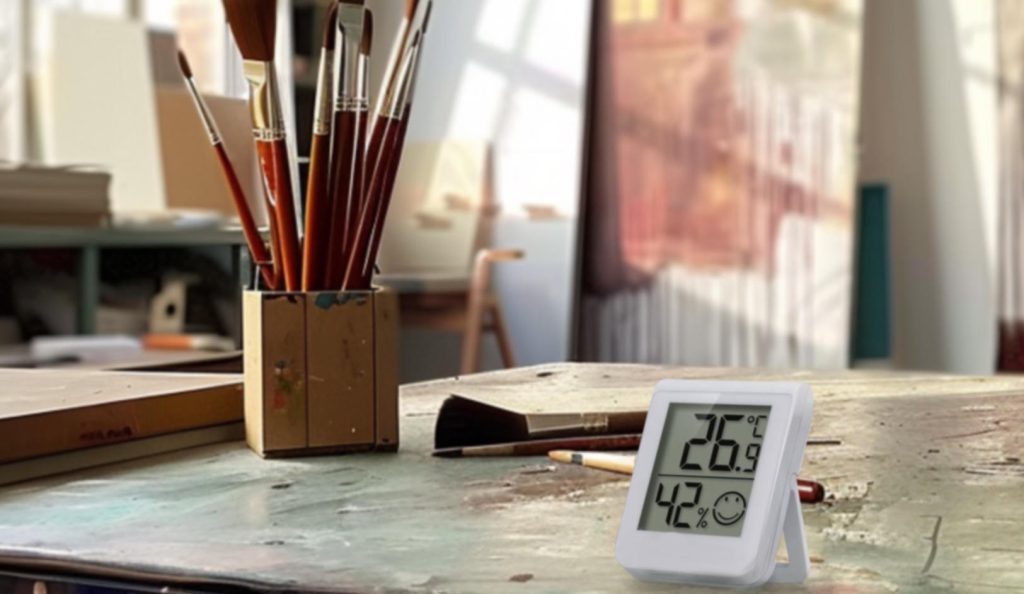
Maintaining stable ambient conditions is crucial for the preservation of acrylic stain paintings. Large, continuous fluctuations in temperature and humidity pose the most significant threats. Humidity levels below 30% can lead to the desiccation (dehydration) and increased brittleness of the fibers, while levels above 70% are likely to encourage mold growth. Additionally, swings in humidity cause the canvas to expand and contract, slackening the canvas and potentially leading to warping, especially in large pieces. If possible, store your paintings in an environment that reduces large fluctuation in humidity, at ambient temperatures, away from direct heat sources.
For your reference, the recommended environmental conditions for the storage of stained paintings in museum collections include temperatures that fall within the range of 68-72°F during the winter and 72-75°F during the summer, with an allowance for a few degrees of fluctuation in either direction. For humidity, it is suggested to maintain levels at 40% ± 5% during the winter and 50% ± 5% during the summer.
In recent years, research in many countries has examined the consequences of deliberately relaxing relative humidity standards to account for seasonal variations. Many collections now identify their own minimum and maximum safe RH levels, thereby extending the acceptable range and promoting more sustainable practices.
2. Minimize Light Exposure
Exposure to light, especially ultraviolet (UV) radiation, leads to the deterioration and discoloration of the canvas and can cause fading of pigments over time. In thin paint layers, pigments are exposed to more light and therefore are more vulnerable to light exposure. When permanently displaying stain paintings, light exposure should be kept as low as possible. Often stain paintings have areas of raw canvas exposed. Therefore, the ideal maximum light exposure is based on the maximum exposure for paper objects at 50 lux or below, rather than the recommended maximum of 150 lux for “normal” (non-stain) paintings. 50 lux is typical for a slightly dimmed living room lighting, 150 lux is more typical for a bathroom or public hallway and 1000 lux is daylight on an overcast day.
During storage, keep the paintings covered or stored in darkened spaces to minimize light exposure. UV exposure should always be eliminated.
3. Wear Gloves During Handling
Oils and dirt from skin contact can transfer onto the surface of the painting, potentially causing discoloration over time. Ideally, always wear clean, lint-free gloves, such as Nitrile gloves, when handling stain paintings to prevent direct contact with the surface.
4. Dust Surface Regularly
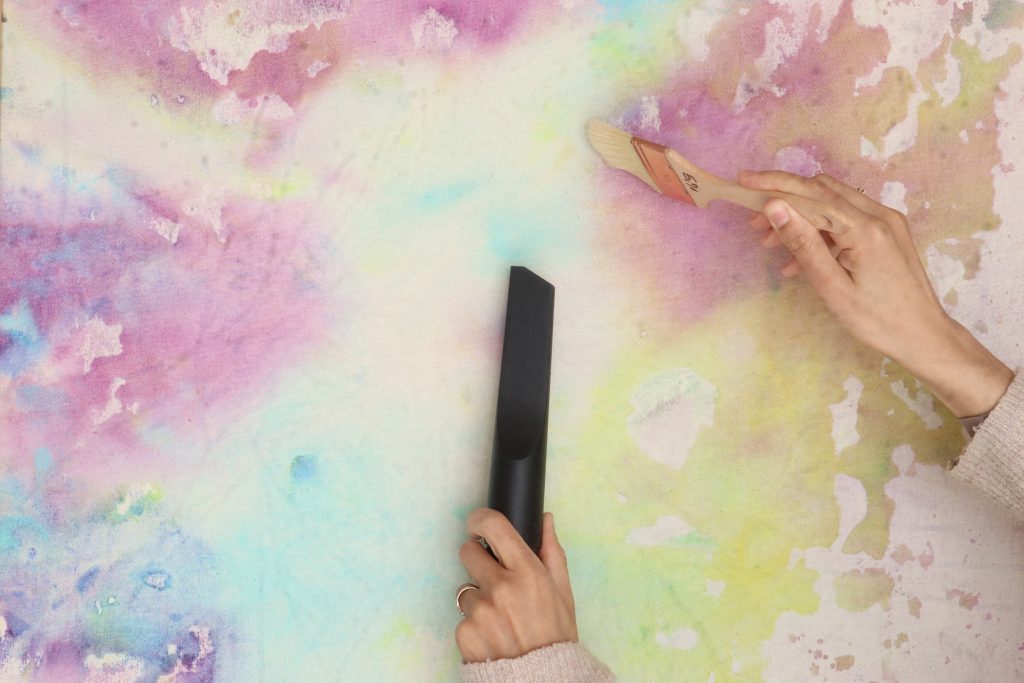
When dust and dirt accumulate on a painting, they tend to attract more of the same, as well as attracting moisture. This happens because dust is hygroscopic (moisture loving), especially in humid places. For this and for aesthetic reasons, it’s best to give stain paintings a good dusting regularly. Ideally use a new soft brush and at the same time catch the dust with a vacuum cleaner with a HEPA filter (high efficiency particulate air filter) at a low suction setting. By using a new brush, we avoid transfer of dirt from previous dustings. Clean dedicated dusting brushes thoroughly with soap and water between uses. Observe the surface carefully while dusting and stop immediately, if it seems that pigment is lifted. Start at an edge or inconspicuous corner of the painting. How often one needs to dust depends on the painting’s environment and how quickly it gets dirty. If dust is building up noticeably, it’s time for a gentle cleaning.

Here is a video demonstrating dust cleaning: https://manual.museum.wa.gov.au/dust-and-brush-vacuuming/index.html
5. Consider & Test Top-Coating
Applying a protective varnish or top-coating to acrylic stain paintings can help seal and preserve the surface, providing additional protection against UV radiation, moisture, dirt and handling damage. Our Fluid Matte Medium is a popular choice for a topcoat on stain paintings. However, it’s essential to test any product on a sacrificial piece first. The aesthetic of a stain painting can depend largely on the look of raw canvas, which is influenced heavily by any coating placed over top. Additionally, color values shift when varnishing and you want to make sure these changes are in line with your creative vision.
Here is a link to our Varnishing Resources
6. Use Backing Boards
Backing boards provide additional support and stability to acrylic stain paintings, especially during storage or transportation. Choose acid-free and archival-quality backing boards to prevent yellowing or deterioration of the canvas over time. Here is an article on backing boards with instructions on using backing boards: https://justpaint.org/backing-boards-for-canvas-paintings/
7. Prevent Stretcher Burn
Stain paintings are usually stretched on wooden stretcher bars, which have their own degradation process. Particularly, the acid released during the wood’s degradation can cause brown stains in the canvas, generally referred to as stretcher burn. Stretcher burns are permanent and also speed up the degradation of the canvas itself.
A simple way to prevent or minimize stretcher burn is by placing an intermediate canvas between the actual painted canvas and the stretcher. One basically staples two layers of canvas onto the wooden stretcher, which is called a lose lining. Conservators of the MoMA share in this article how they placed aluminum foil over the stretcher bars of a Pollock painting that has developed stretcher burns on the reverse already. The aluminum foil should prevent the stretcher burn from becoming visible on the front of the painting, here is the article.
Conclusion
In conclusion, while we’ve explored preventive conservation techniques to care for stain paintings, it’s essential to remember that these are best practices coming from the field of conservation and professional collection care. They certainly aren’t absolute mandates for artists. It’s understandable that artists may not always be able to follow these guidelines. After all, their primary focus is creating art, not conserving it. Conservation professionals are here to conserve and restore stain paintings and as time continues, conservation treatments for stain paintings are becoming increasingly successful, ensuring these cherished pieces endure for future generations to enjoy.
For more detailed information on the conservation concerns regarding stain paintings, refer to the American Institute for Conservation’s guide on Raw Canvas. If you’d like to try stain painting or improve your staining techniques, take a look at our stain painting article. Here you’ll find stain painting ideas and instructions on using acrylics with Wetting Aid for better control of your stains.
About Mirjam Auf der Mauer
View all posts by Mirjam Auf der Mauer -->Subscribe
Subscribe to the newsletter today!
No related Post


a friend was going to try to do a stain painting on the raw side of a gessoed canvas. Would that work as a stain painting? and if so, would that be less fragile?
Hello Lesanne, yes, staining the reverse of a gessoed canvas should be possible. The reverse of the gessoed canvas will likely not be as absorbent as a raw canvas and this might affect how the stains behave on the surface. Using less water might be helpful. The gesso on the reverse should provide some additional stability to the canvas.
I just want to tell you how helpful these Just Paint articles are. I’m experimenting with acrylic paints and related media on paper; typically I paint on panel. Though this article does not discuss paper substrates, its content and links to other resources are very, very helpful to me.
can you stain paint on a treated canvas ? maybe gesso or a primer to make the paint last.?
Hello Janine,
you can certainly stain paint on gessoed canvas as well. The thinned paints will behave differently on primed canvas compared to raw canvas. You can experiment with with our Absorbent Ground as well, which will be somewhere in-between a raw canvas an a primed one, in terms of absorbency. Here is the tech sheet for Absorbent Ground with additional application suggestions: https://goldenartistcolors.com/resources/absorbent-ground